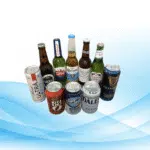
Liquor distillation turns fermented grains, fruits, or cane juice into whiskey, vodka, rum, and gin. By gently heating the mash, the distiller draws off the alcohol while leaving heavier flavors behind, yielding a clear, flavorful spirit. Though it looks simple, the craft blends science, patience, and a steady hand; with the right gear and practice, anyone can learn to make their own small batches of fine liquor at home.
Why Distill Liquor?
Getting into home distillation isn’t only a commercial shortcut—plenty of hobbyists love making their own drinks just for the fun of it. Whether you want to craft a one-of-a-kind whiskey or toss a few unusual herbs into a gin, working with a still lets your imagination run wild. Plus, learning the process gives you a new way to understand all those flavors in the bottles you buy.
Essential Equipment for Distilling Liquor
Before firing up a still, you should know what gear you really need. Distillation is no walk in the park, and having the right pieces will save time and keep the final product tasting good. Here are the basics to gather first:
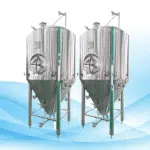
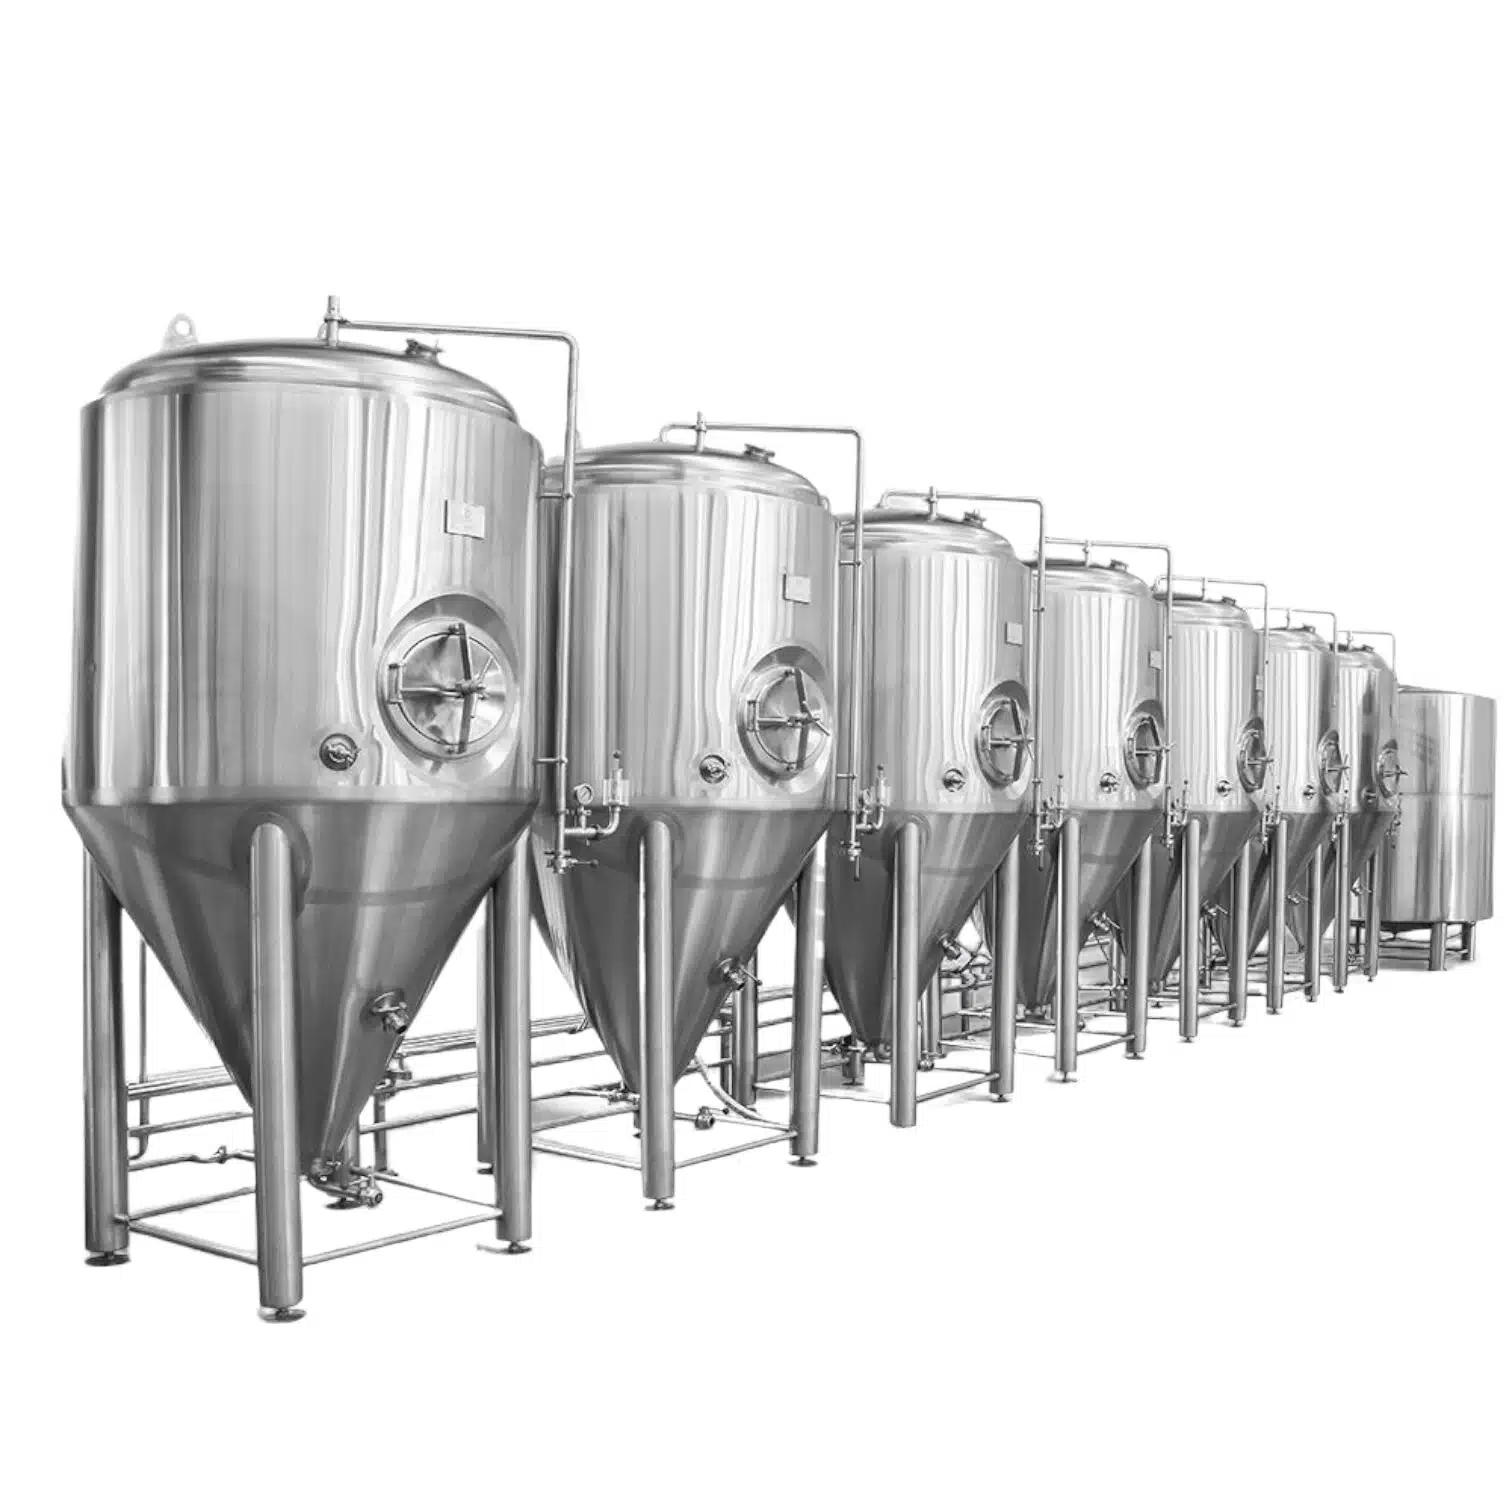
- Fermentation Vessel The fermentation vessel holds your mash or wash while the yeast goes to work turning sugar into alcohol. Toss in crushed grains for whiskey, molasses for rum, or even fruit juice, then seal it up and let nature do its thing.
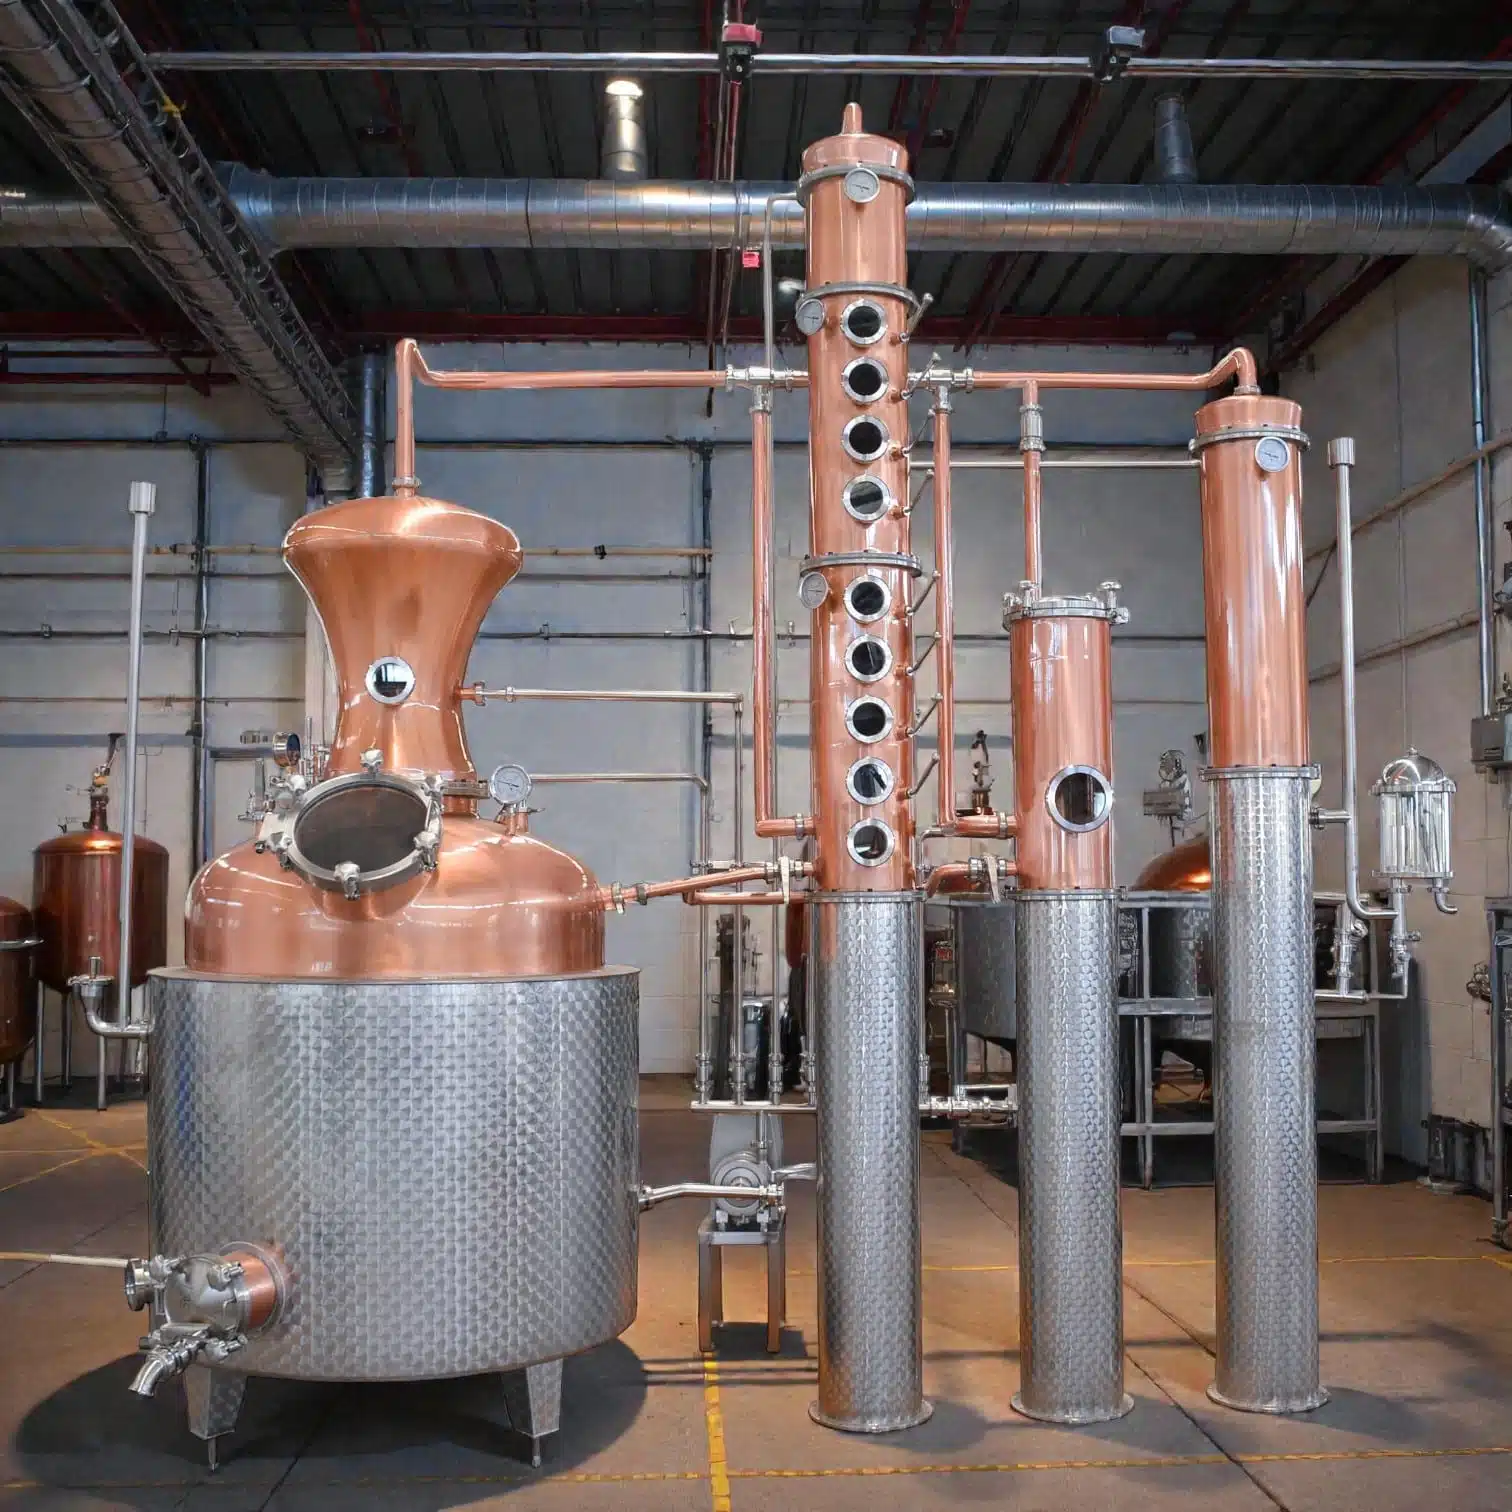
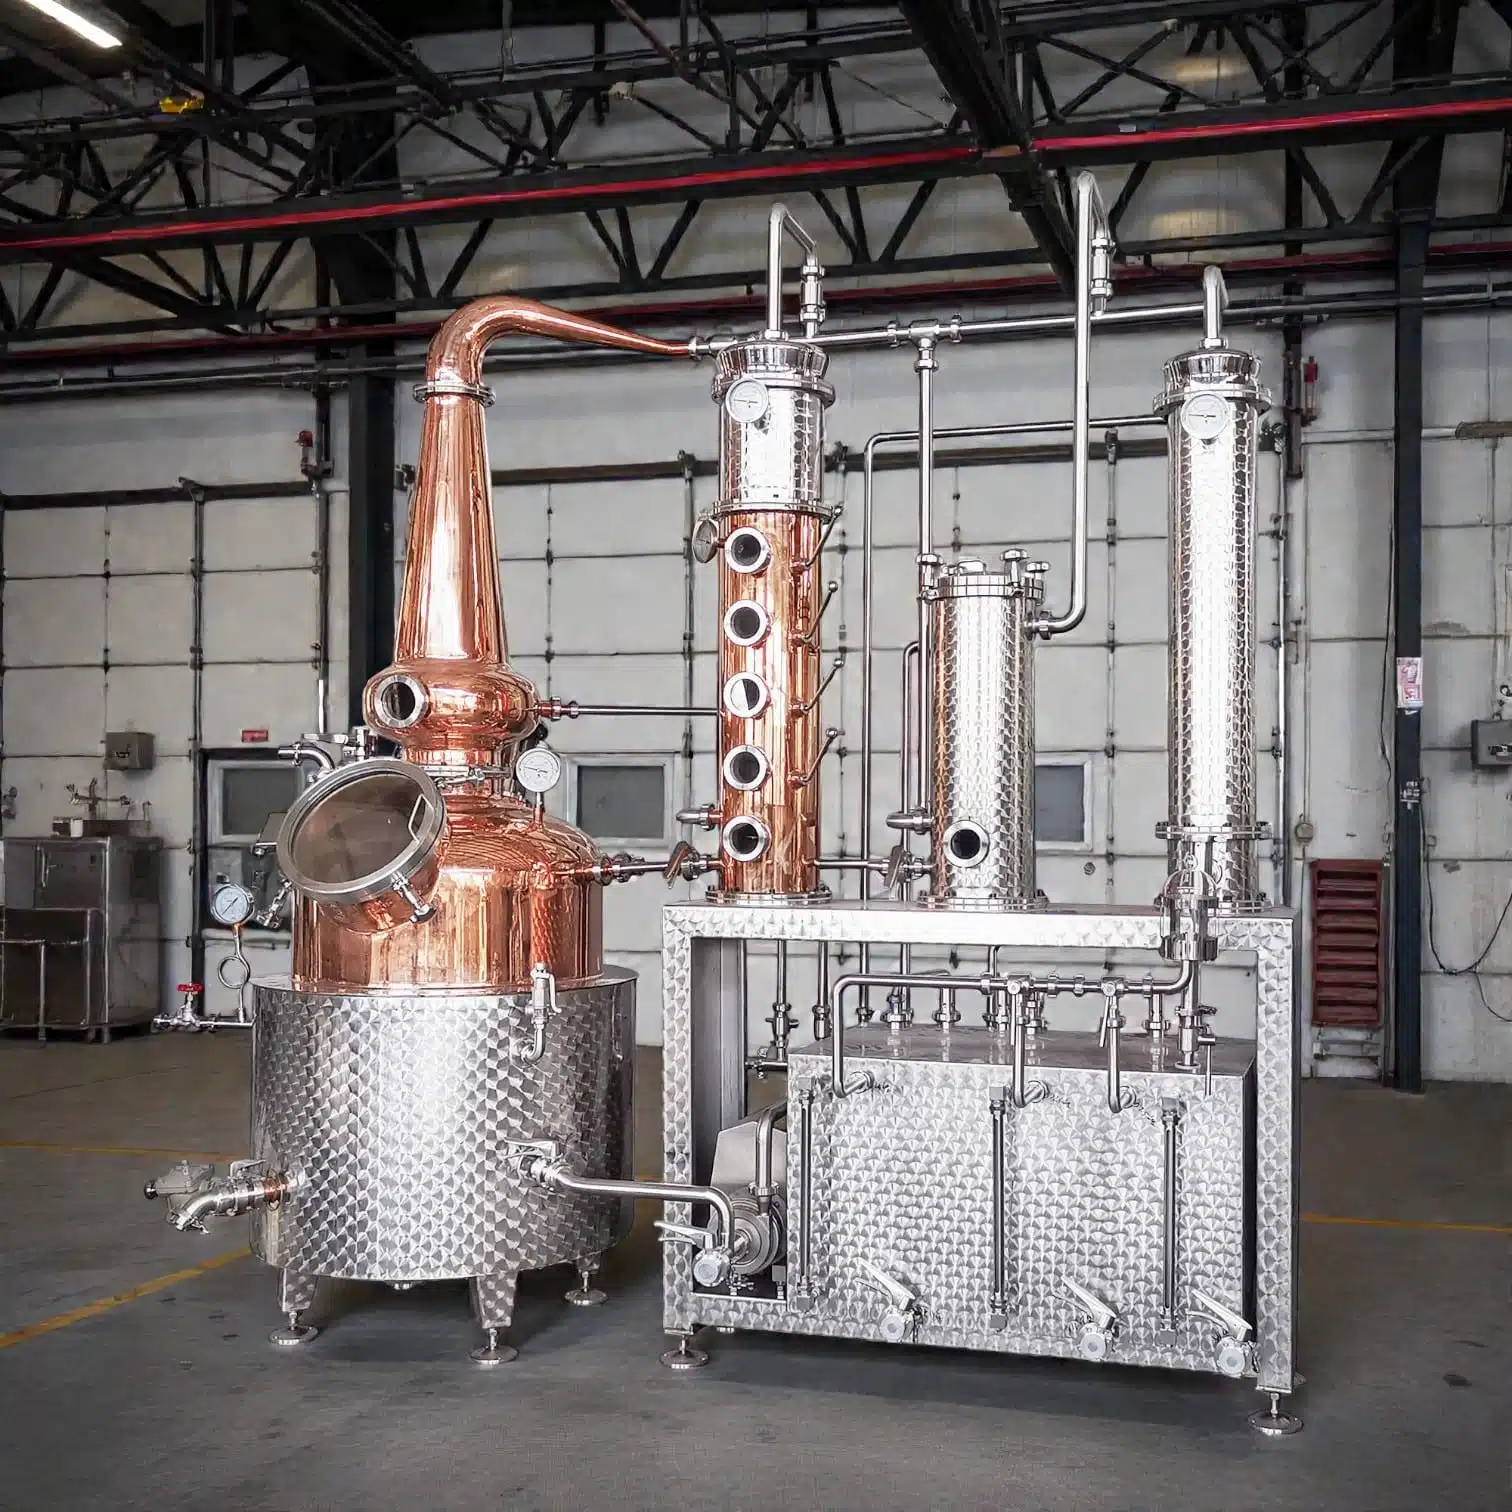
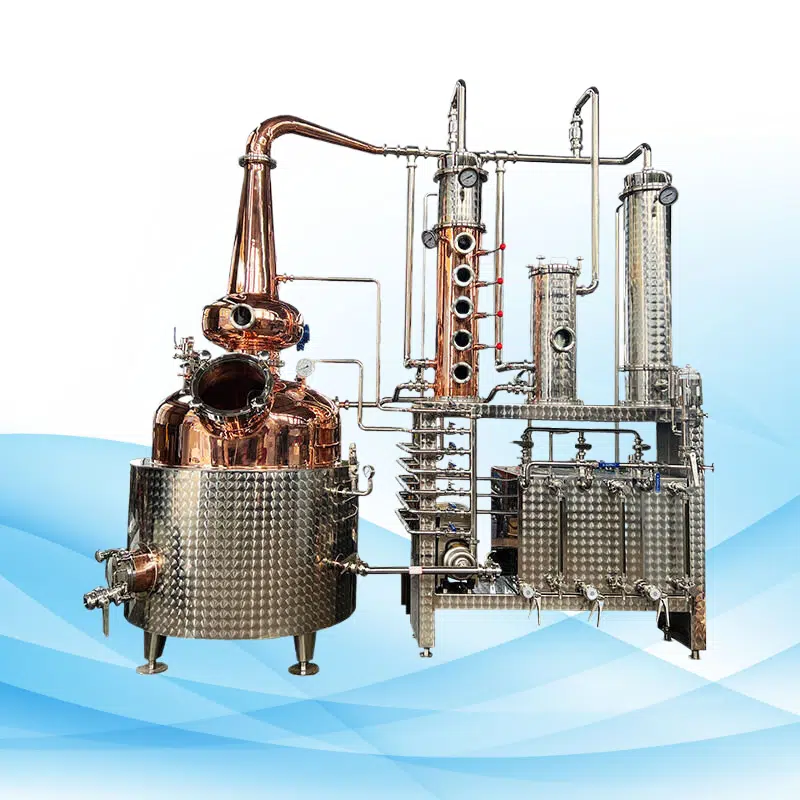
- Distillation Apparatus (Still) The still is the heart of the setup, separating alcohol from water and other bits. You can choose from a few styles, each with its own quirks:
- Pot Still: Thick copper bowl, used for rich whiskeys, rums, and similar spirits.
- Column Still: Tall and packed with plates, great for clean vodka or herb-forward gin.
- Condenser The condenser chills the hot vapor from the still, turning it back into a clear liquid. This step is what lets you grab the alcohol and leave most of the water and other stuff behind.
- Hydrometer You use a hydrometer to check how strong your liquor is, making sure it comes out at the proof you planned.
- Collection Vessels Grab a few clean jars or bottles to catch the distillate. Each one will hold a different part of the run—the heads, hearts, and tails—so you can taste test later and blend if you want.
The Liquor Distillation Process Explained
Now that you have all the gear laid out, let’s walk through the distilling steps from start to finish.
Fermentation: The First Step
Distilling actually begins long before the still even gets warmed up; it starts with fermentation. Toss some crushed grain, sugarcane juice, or plain sugar into water, stir in yeast, and set the mix aside. The yeast munches on the sugar, burping out alcohol and carbon dioxide. Depending on how sweet the mash is and how much kick you want, this bubbling stage can run from a few days to two weeks.
Key Factors in Fermentation:
- Temperature: Yeast works best when the room hangs around 65°F to 75°F (roughly 18°C to 24°C).
- Yeast Strain: Pick the right yeast, and it will add its own twist to the final flavor.
- pH Level: Keeping the mash acidic, around 4.5 to 5.5, gives yeast a happy home so they bubble away without drama.
Distillation: The Heart of the Process
After fermentation slows down, the gin or whiskey moves to the still for its big moment. When heat meets mash, alcohol evaporates first because its boiling point is lower than that of water.
Steps in Distillation:
- Heat the Mash: Pour the bubbly mixture into the still and raise the heat slowly to about 173°F (78°C). Around there, the alcohol breaks free as vapor.
- Capture the Vapor: That rising vapor snakes through the condenser, cools down, and runs back out as clear liquid.
- Separate the Fractions: Behind the spout, three sections drip out in order:
- Heads: The first, heavy with acetone and other bad stuff, goes straight into the discard bucket and never looks back.
- Hearts: Next comes the golden mid-run, full of clean alcohol and welcome aromas. This is the heart of the batch worth saving.
- Tails: Finally, the remaining liquid, usually less flavorful and more watery, is discarded or used for future runs.
Aging and Bottling: Finishing Touches
Some spirits, like whiskey and rum, grow richer when they rest in wooden barrels for a while. That wood slowly hands over spicy and sweet notes, making the drink taste more layered. In contrast, vodka and gin are often poured into bottles right after the last drop of distillation, so they skip the barrel time altogether.
If you do decide to age something at home, think carefully about what kind of barrel you’ll use and how long the liquor will sit inside. The size, wood type, and length of that wait can change the final flavor more than you might expect.
Legal Considerations in Distilling Liquor
Before you set up a still, you need to know whether the law will let you. Around the world, making liquor for personal use is either tightly controlled or flat-out banned.
In the United States, for example, the Alcohol and Tobacco Tax and Trade Bureau says you must have a license, and starting a run without one can land you in big trouble. Because local rules vary, take a few minutes to look them up first; the fines and even jail time for distilling illegally are very real.
Safety Tips for Distilling Liquor at Home
Making your own alcohol can be risky, so following these safety steps is a must.
- Work in a well-ventilated area: Always work in a place where fresh air keeps flowing, because the flammable fumes can sneak up and cause a dangerous blast if they build up.
- Monitor Temperature: Keep a good thermometer inside the still to watch the temperature; knowing when the heat rises too high can help you dodge overheating and the problems that go with it.