Home brewing, or making beer at home, has exploded in popularity over the last decade, thanks in large part to the rise of craft breweries. If you’re thinking about trying it out, you’ll first want to learn what gear you really need to keep things easy and fun. Whether you’re brand-new to brewing or you’ve helped a friend run a batch, having the right tools can boost both the taste of your beer and how much you enjoy the whole process.
This guide walks you through the main pieces of beer-making equipment, explains what each one does, and gives you tips on how to get started without wasting time or money. We’ll also point out the most popular items and show you how to pick the best options for the kind of brewing you plan to do.
The Core Beer Making Equipment Every Brewer Needs
No matter what style of beer you’re aiming for, there are a handful of tools every homebrewed should have on hand to craft clean, tasty batches. Here’s a quick rundown of the basic pieces you’ll use from boil to bottle.
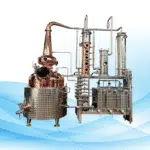
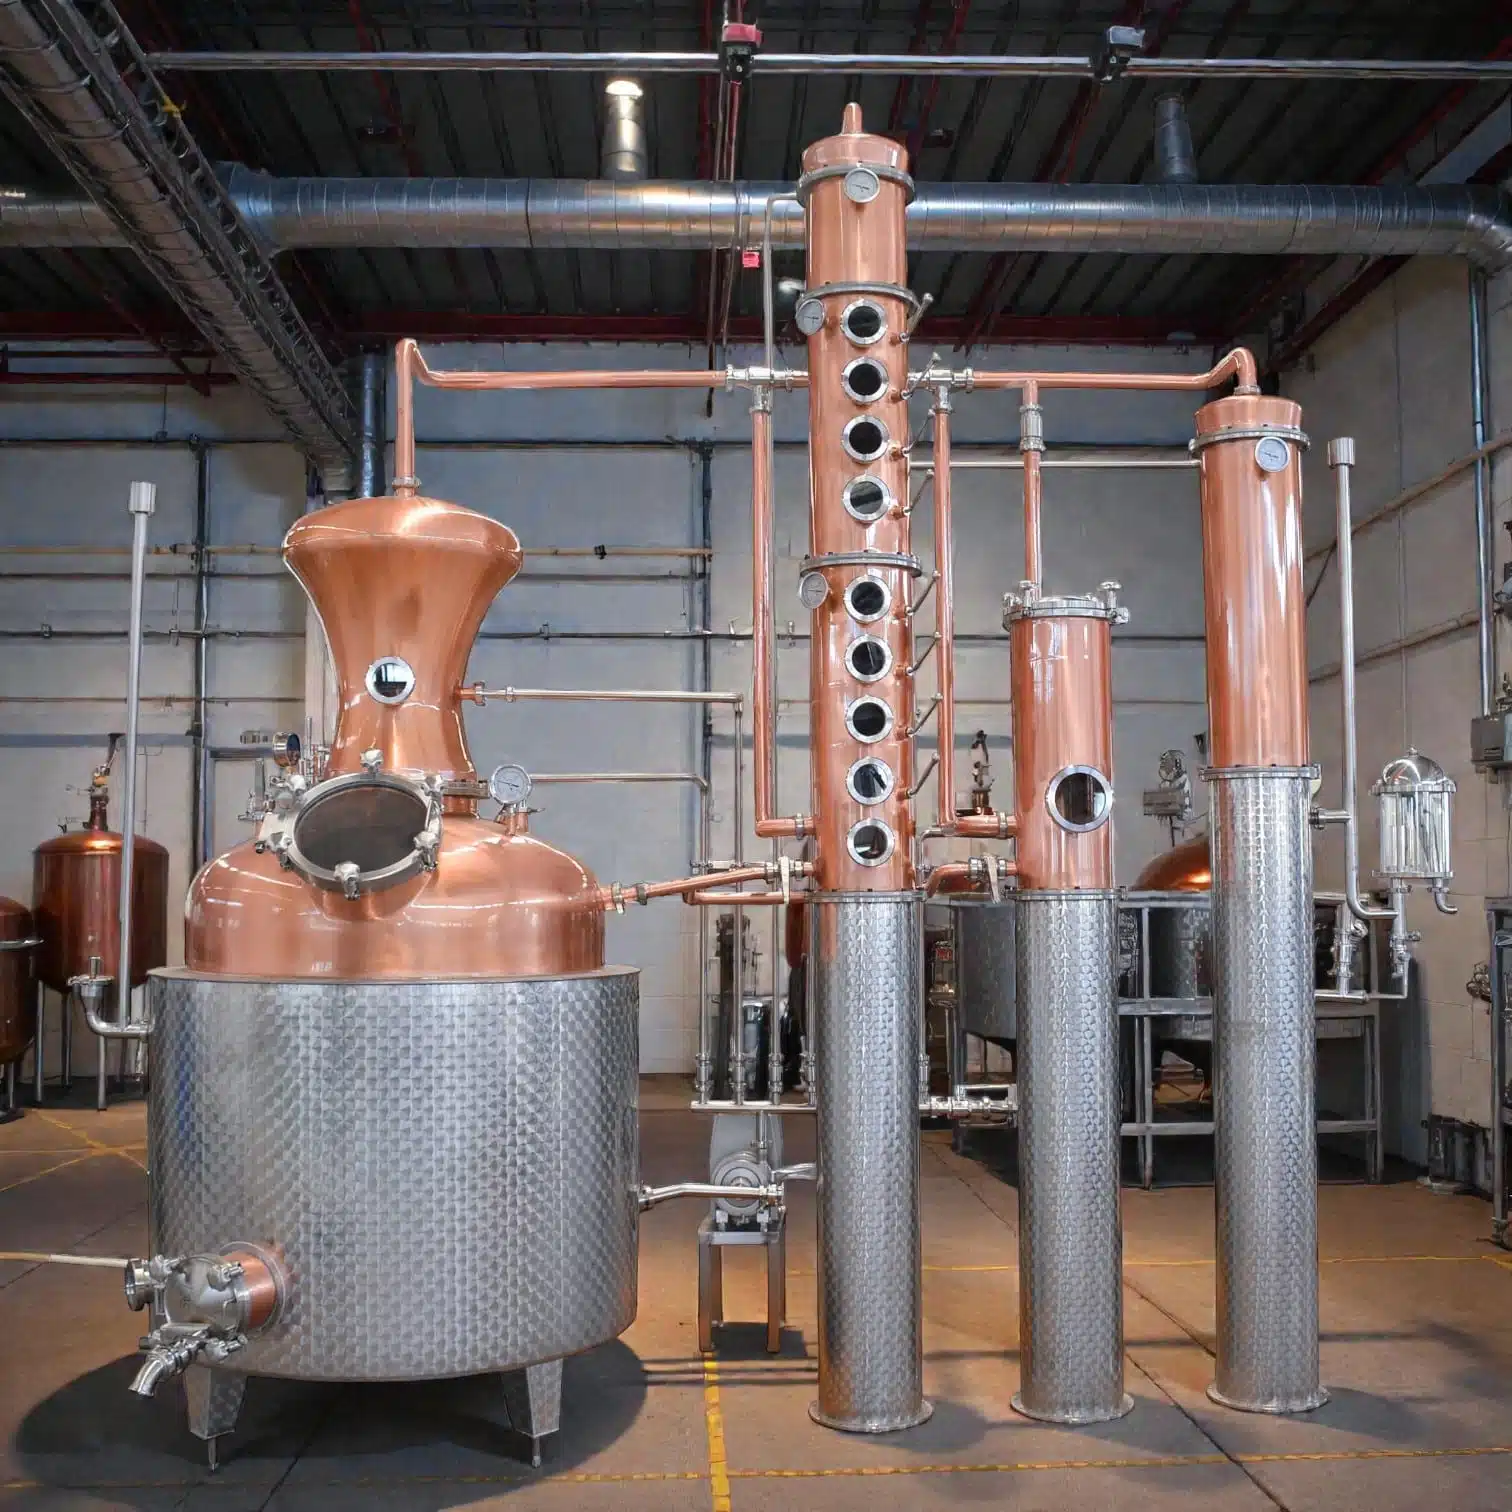
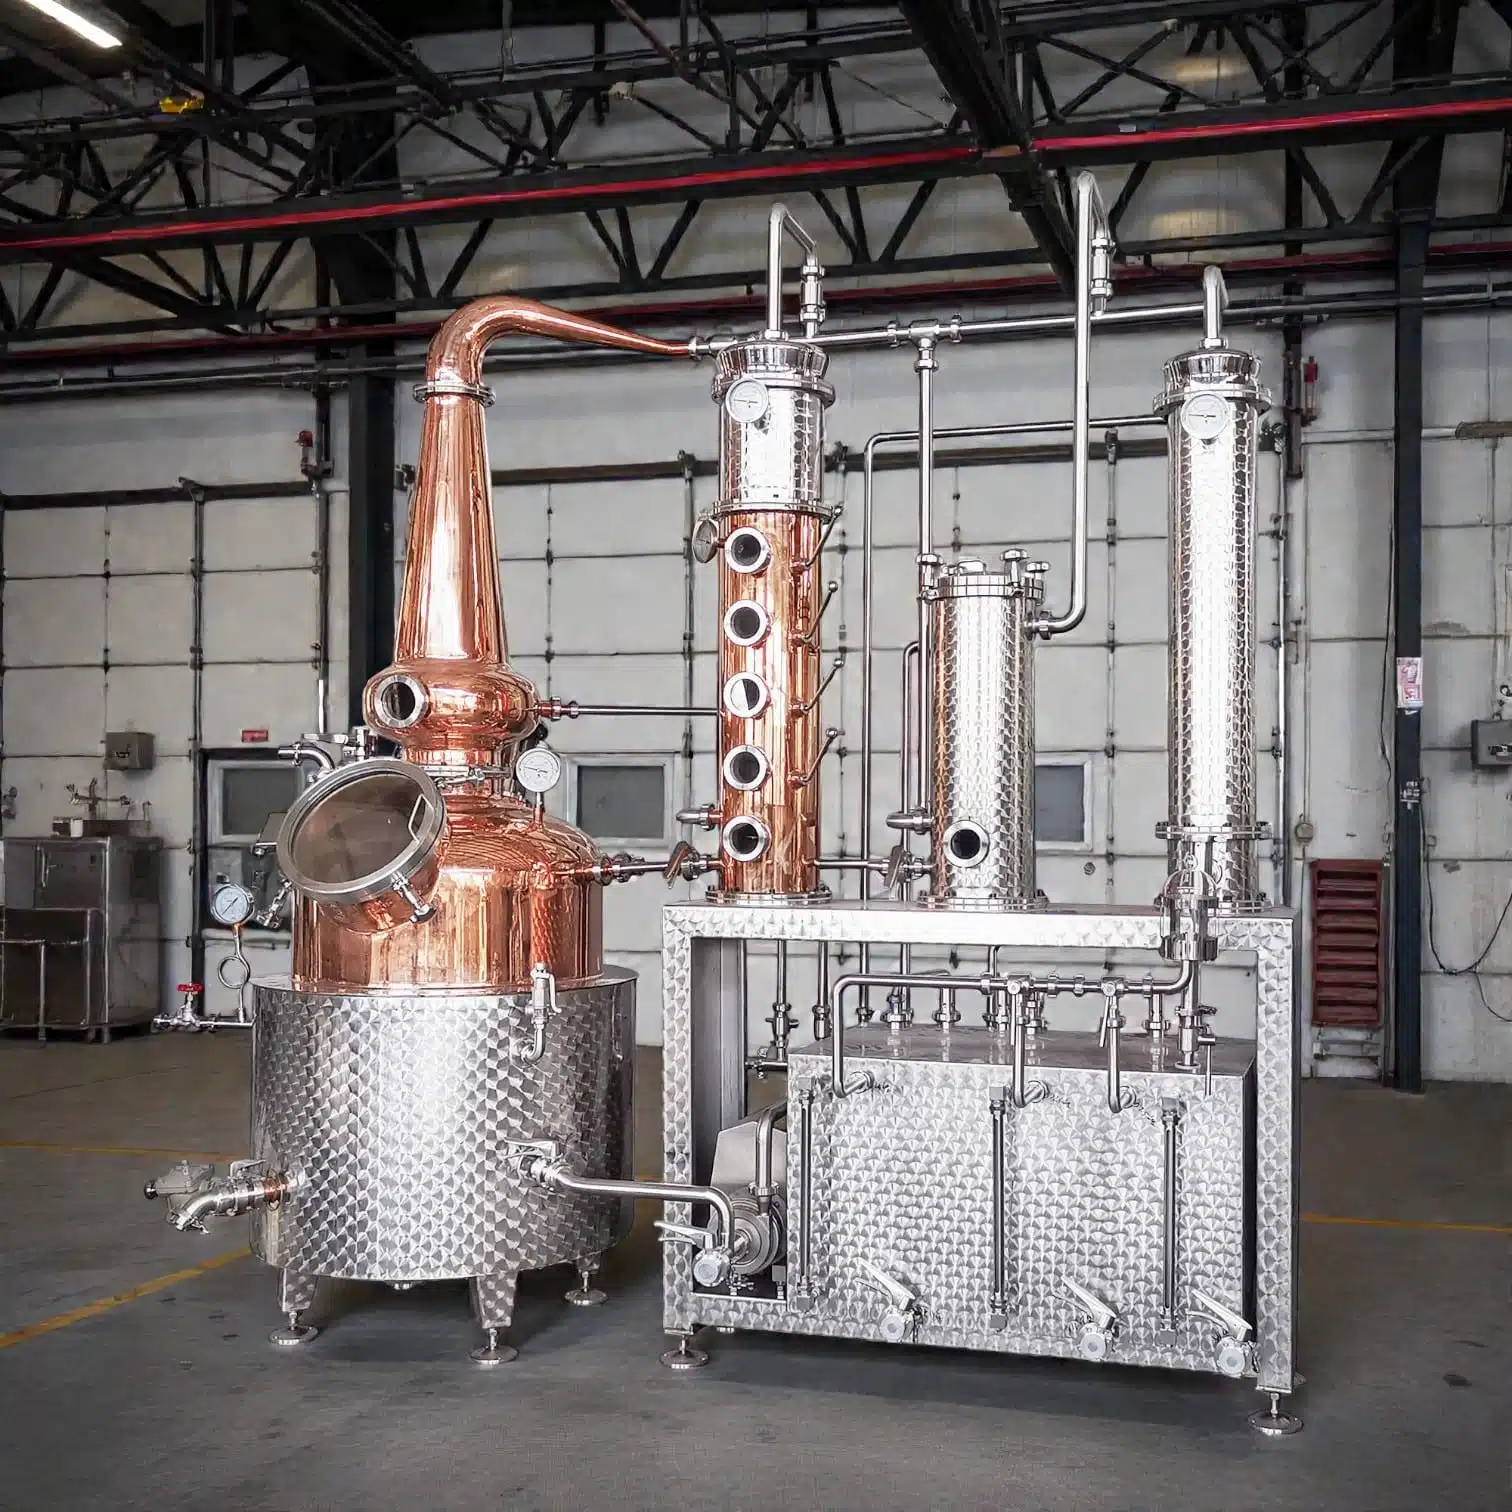
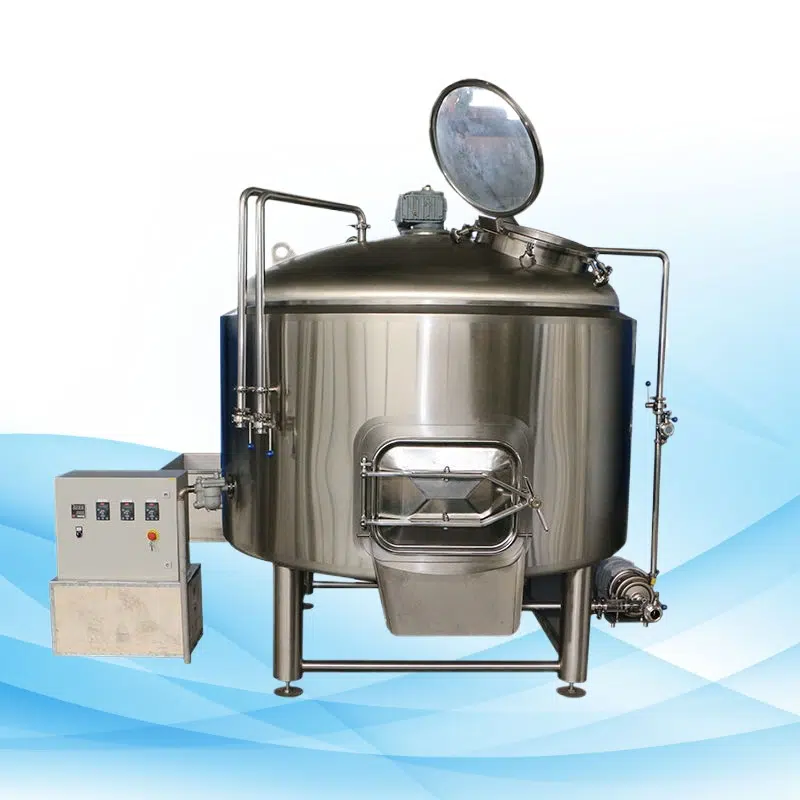
1. Brewing Kettle
The brewing kettle is one of the most vital tools you’ll use when making beer at home. Usually made of stainless steel, this big pot boils the wort—a mix of water, malt, and hops—before it moves on to fermentation. Because the kettle has to hold the entire batch, picking the right size is super important. Keep these tips in mind when shopping for one:
- Capacity: A 5-gallon kettle fits most beginner recipes, but bigger batches call for a larger pot, so plan ahead.
- Material: Go for stainless steel. It’s tough, lasts a long time, and cleans up easily after brew day messes.
- Heat Source: Decide how you’ll heat it—gas burner, electric coil, or induction—and make sure the kettle works with that setup.
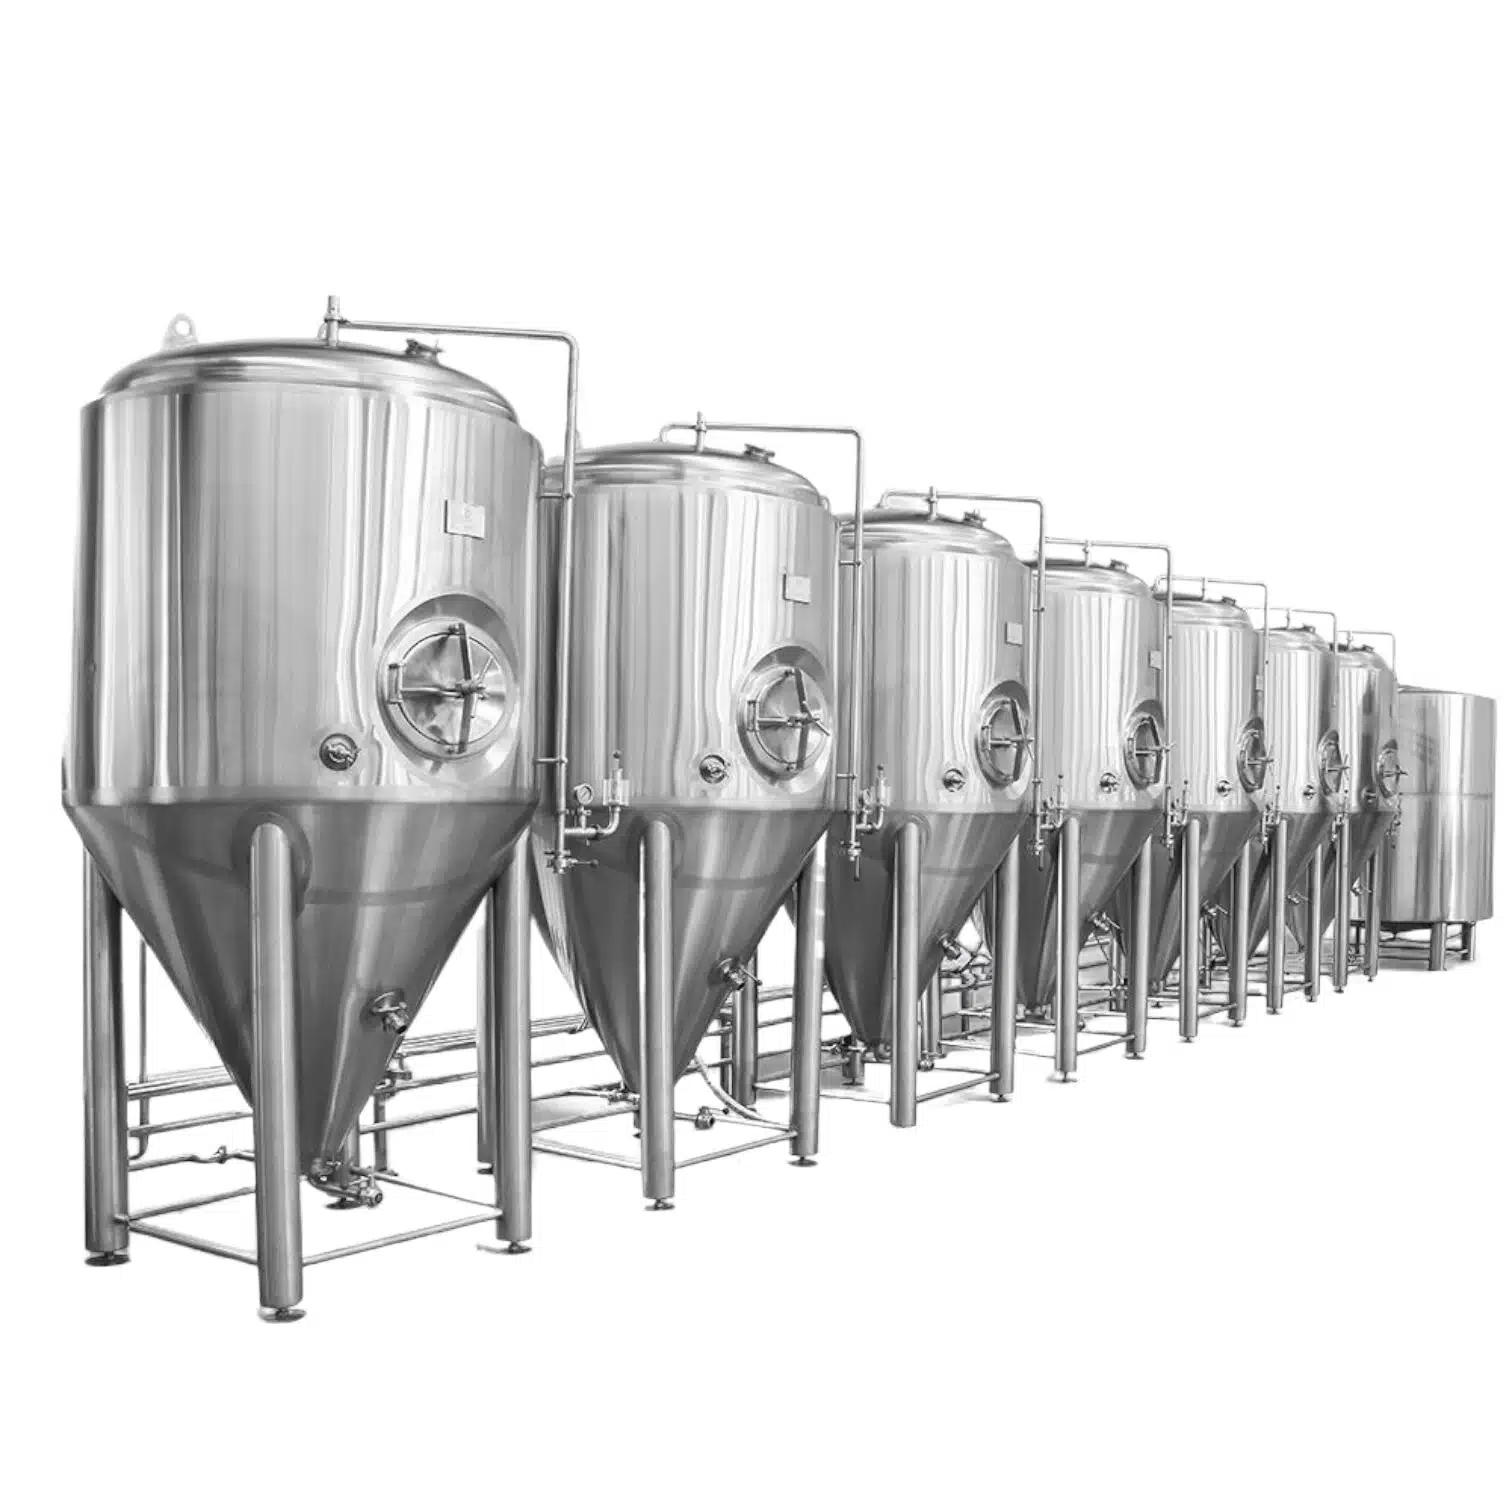
2. Fermenter

After the wort boils and cools, fermentation is next, and that means you need a fermenter. This airtight container holds the wort while yeast does its job, turning sugars into alcohol and bubbles. To keep unwanted germs out, the lid must seal tight, yet it still needs a way for the escaping carbon-dioxide gas to escape without popping the seal.
Fermenters come in all sizes, from 1-gallon jars for home hobbyists to 10-gallon tanks and bigger for people brewing on a larger scale. Keep these tips in mind when picking one:
- Material: Most fermenters are made of glass, plastic, or stainless steel. Glass lets you comfortably watch the bubbles and color change, while plastic is lighter, harder to break, and usually cheaper.
- Airlock: An airlock sits in the top and lets carbon dioxide sneak out. At the same time, it keeps wild germs from drifting inside and spoiling your beer.
3. Mash Tun
The mash tun is where cracked grains sit in hot water, so their sugars leach into the liquid. That sweet wort is what yeast will later turn into alcohol, so this step is hugely important. Most mash tuns have either a false bottom or a small tap to let the finished wort flow out.
- Insulation: Because the mash needs to stay at a steady temp for about an hour, good insulation is a must. Some brewers wrap their tun in foam, while others buy double-wall jackets that hold heat like a thermos.
- Size and Capacity: As with fermenters, mash tuns span a wide range of sizes. A tiny 2- or 3-gallon batch might fit in a cooler, while a 10-gallon or larger model suits more serious setups.
Additional Essential Beer Making Equipment
Beyond the must-have tools, a few extra items come in handy during different stages of brewing. These pieces of gear are just as important for any homebrewed who wants to nail every single batch.
4. Brewing Spoon or Paddle
A brewing spoon—or paddle, features a long handle that lets you stir the mash or wort without scalding your hands. Good stirring spreads heat evenly, breaks up grain lumps, and gives the malt a better shot at releasing its sugars.
- Material: Look for one in stainless steel or hardwood that stands up to scrubbing and lasts brew after brew.
- Length: Pick a paddle long enough to reach the very bottom of your kettle or mash tun with room to spare.
5. Wort Chiller
Soon as the boil ends, you want to cool the wort fast and get it down to fermentation temperature—around 70°F (21°C) for most ales. A wort chiller does that job, keeping wild bacteria out and saving time.
- Coil Chillers: Made of copper or stainless, these coiled tubes sit in the wort while cold water rushes through, pulling heat out almost instantly.
- Counterflow Chillers: This clever bit of gear runs a chilled water hose backward against the wort, letting heat jump over quickly. Because the flows move in opposite paths, you get top-notch cooling speed and low risk of scorch.
6. Hydrometer or Refractometer
Before yeast eats through the sugar, you dip a hydrometer and read the specific gravity (SG) of the wort. Later, you check the same way, and the drop tells you alcohol strength. A refractometer works, too—just a tiny splash on the glass instead of a full flask. It gives almost the same info but edges ahead in accuracy on small samples.
- Hydrometer: Simple, beginner-friendly, yet it must be calibrated, or it leads you astray.
- Refractometer: Fast and precise, though it costs a little more than the glass tube and float.
Specialized Beer-Making Equipment for Advanced Brewers
Once you feel at home with basic batches, a handful of extra tools can lift quality, speed things up, and shave mess from brew day.
1. Begging System
Swapping dozens of bottles for a single keg saves time and hand cramps. The pressurized drum carbonates evenly, provides tight control over bubbles, and cleans up in half the sink space.
- Keg Sizes: Five-gallon corny kegs rule the home market, small enough to maneuver yet big enough to keep friends happy.
- CO2 Tank: Pair the keg with a CO2 tank, your trusty partner for topping pressure and locking in perfect fizz.
2. Grain Mill
If you plan to use whole grains (instead of buying malt that is already crushed), a grain mill will be needed to crack the grains before mashing. Grinding your own grains lets you dial in the exact coarseness, which helps pull out more sugar during the brew.
Types of Mills: Most home brewers choose between a manual mill and a motorized one. The manual version costs less, but the motorized style saves time and elbow grease on larger batches.
How to Choose the Right Beer Making Equipment
Picking the right gear starts with knowing why you want to brew, how much you can spend, and the space you have. Use these tips to guide your choices.
- Consider Your Brewing Scale: Stick to smaller tools if you plan to brew only a few bottles at a time. For bigger batches, larger pots, fermenters, and coolers will save you work.
- Quality Over Price: Cheaper kegs and hoses tempt everyone, but sturdier gear lasts longer and usually makes better beer. Think of the purchase as an investment in every future batch.
- Cleanliness and Maintenance: Look for equipment that rinses and wipes clean in minutes. Easy upkeep keeps wild yeast, old hops, and off flavors out of your brew, letting true flavor shine.
Common Questions About Beer Making Equipment
1. Do I really need to sanitize my beer-making gear?
Absolutely! Scrubbing and sanitizing everything—from the kettle to the bottles—is the best way to keep nasty bacteria and wild yeast from ruining your batch. A little extra elbow grease here can save your whole brew day.
2. Can I make beer if I don’t own a mash tun?
Sure thing. Many beginners use malt extract and skip the mash tun altogether, and the beer still tastes great. That said, having one gives you more control over sugar