how to make homemade wine
Winemaking has been around for millennia; it is an age-old art passed down from generation to generation and refined with time and experience.
No vineyard or cellar necessary – wine making can take place right in your own home. Whether you’re a beginner wanting to make your own wine or a seasoned winemaker, there’s something you can learn from this guide.
Are You ready to Explore Home-Made Winemaking? Let’s Get Started Now.
Understanding the Basics of Winemaking
Winemaking, or vinification, is an age-old process. Transforming grapes or other fruits into wine requires fermentation processes that involve turning grapes or fruit pulp into alcohol.
Starting your DIY jewelry making journey begins by choosing your fruit. Grapes are often preferred but other fruits like apples, peaches or berries could work just as well.
Next comes the crushing and pressing stage. This is where you extract the juice from the fruit.
Once juice has been prepared for fermentation, yeast takes over in turning its sugars into alcohol.
Clarifying wine takes place through a process called racking, in which wine is transferred from one container to the next, leaving behind any sediments.
At last, the wine is bottled and aged.
The History and Tradition of Winemaking
Winemaking has a seriously old and fascinating history that goes back thousands of years. Evidence of wine production dates as far back as 6000 BC in Georgia.
Ancient peoples included winemaking as part of everyday life; religious ceremonies used it, while it served as currency and was an indispensable dietary staple.
Over centuries of winemaking history, techniques have advanced but the core process remained the same, which attests to this age-old craft’s timeless popularity.
What You Need to Know Before Starting
Before beginning home wine making, there are a few key considerations you need to keep in mind.
Winemaking requires patience: from fermentation to aging, making a batch can take several months or years of hard work and dedication.
Cleanliness is of importance in wine production. Any bacteria or wild yeast present can damage your product so make sure all equipment used during production has been fully disinfected and sterilized before beginning work.
Winemaking is both science and art rolled into one; understanding fermentation processes requires mastery over one aspect while creating flavors balance requires another – don’t worry though; this guide can assist with both steps!
Essential Equipment for Making Wine at Home
To make wine at home, you’ll need some basic equipment. Don’t worry, most of these items are readily available online or at a local homebrew shop.
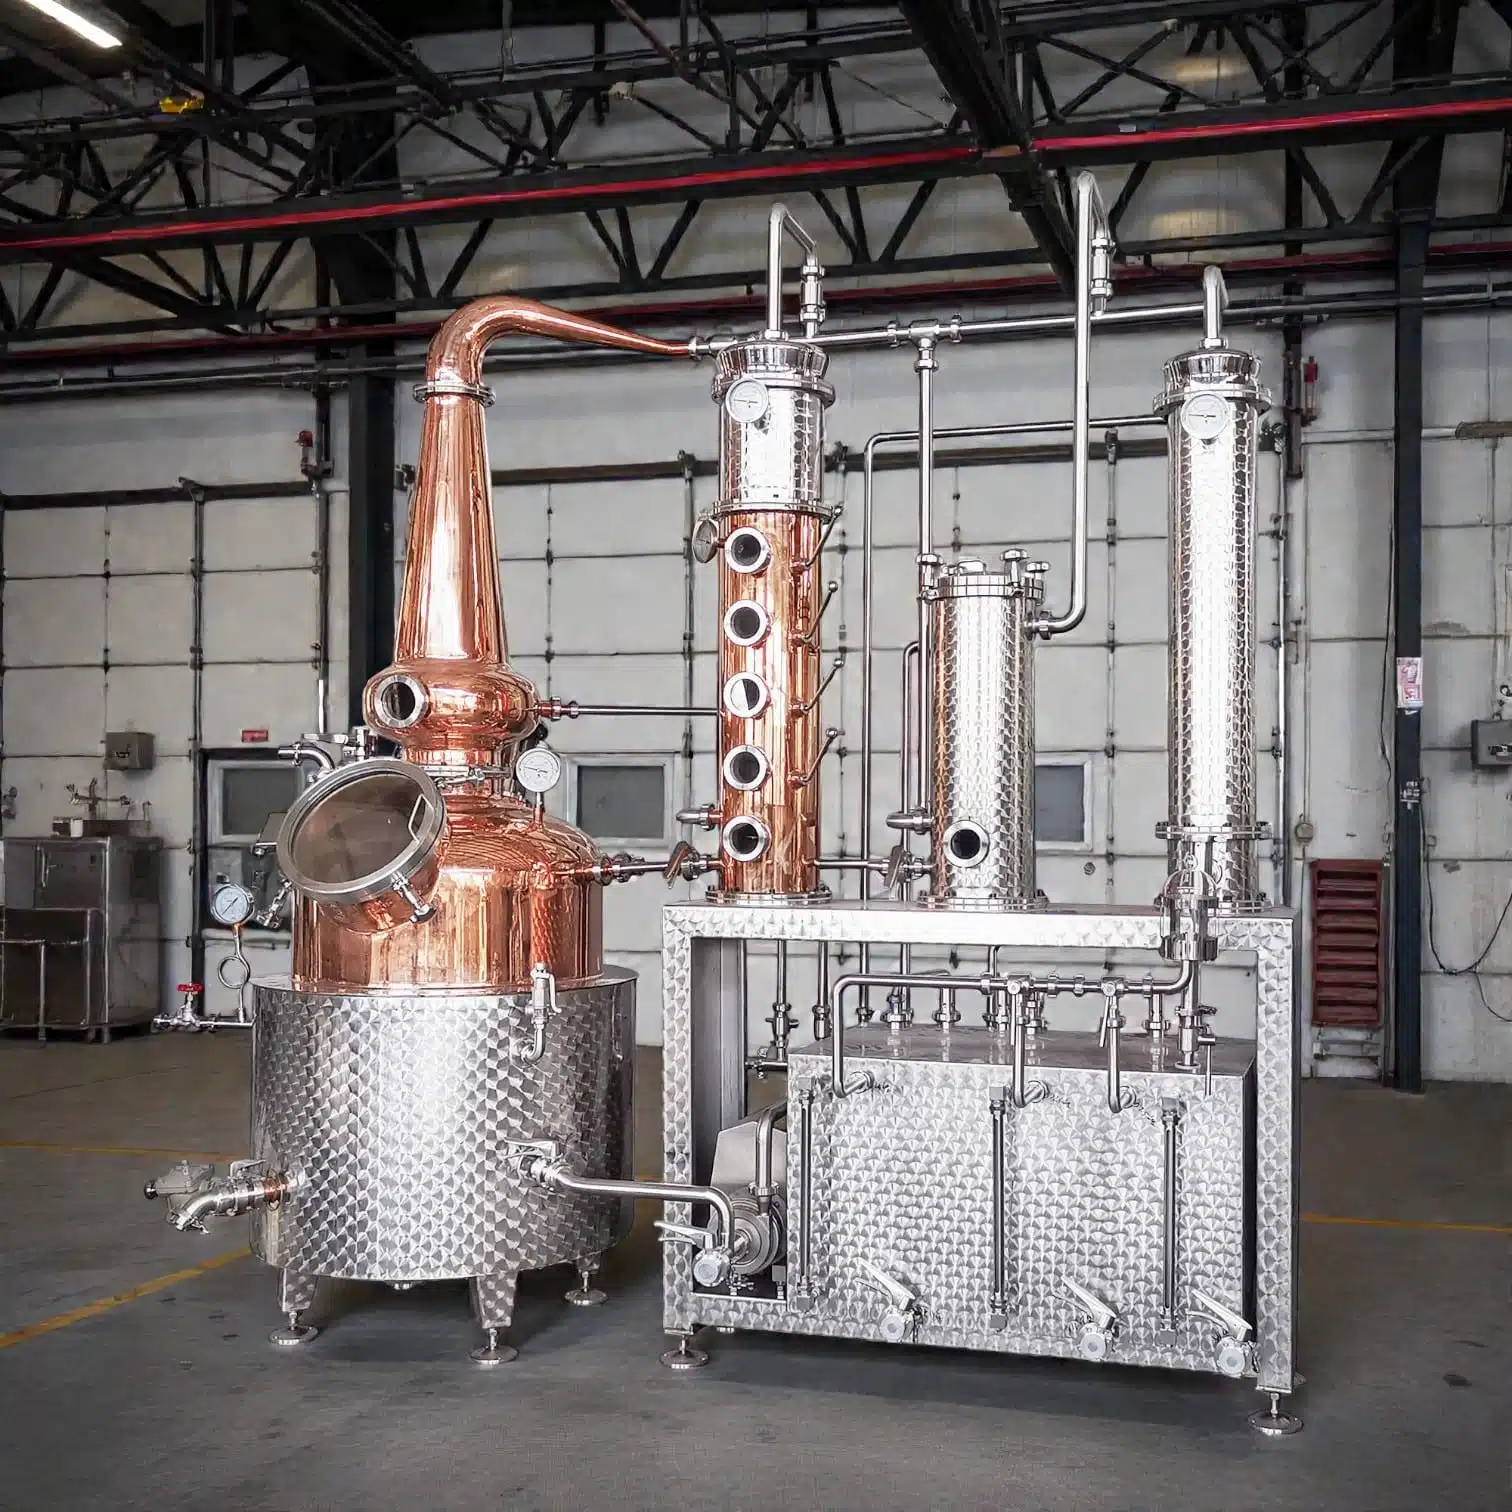
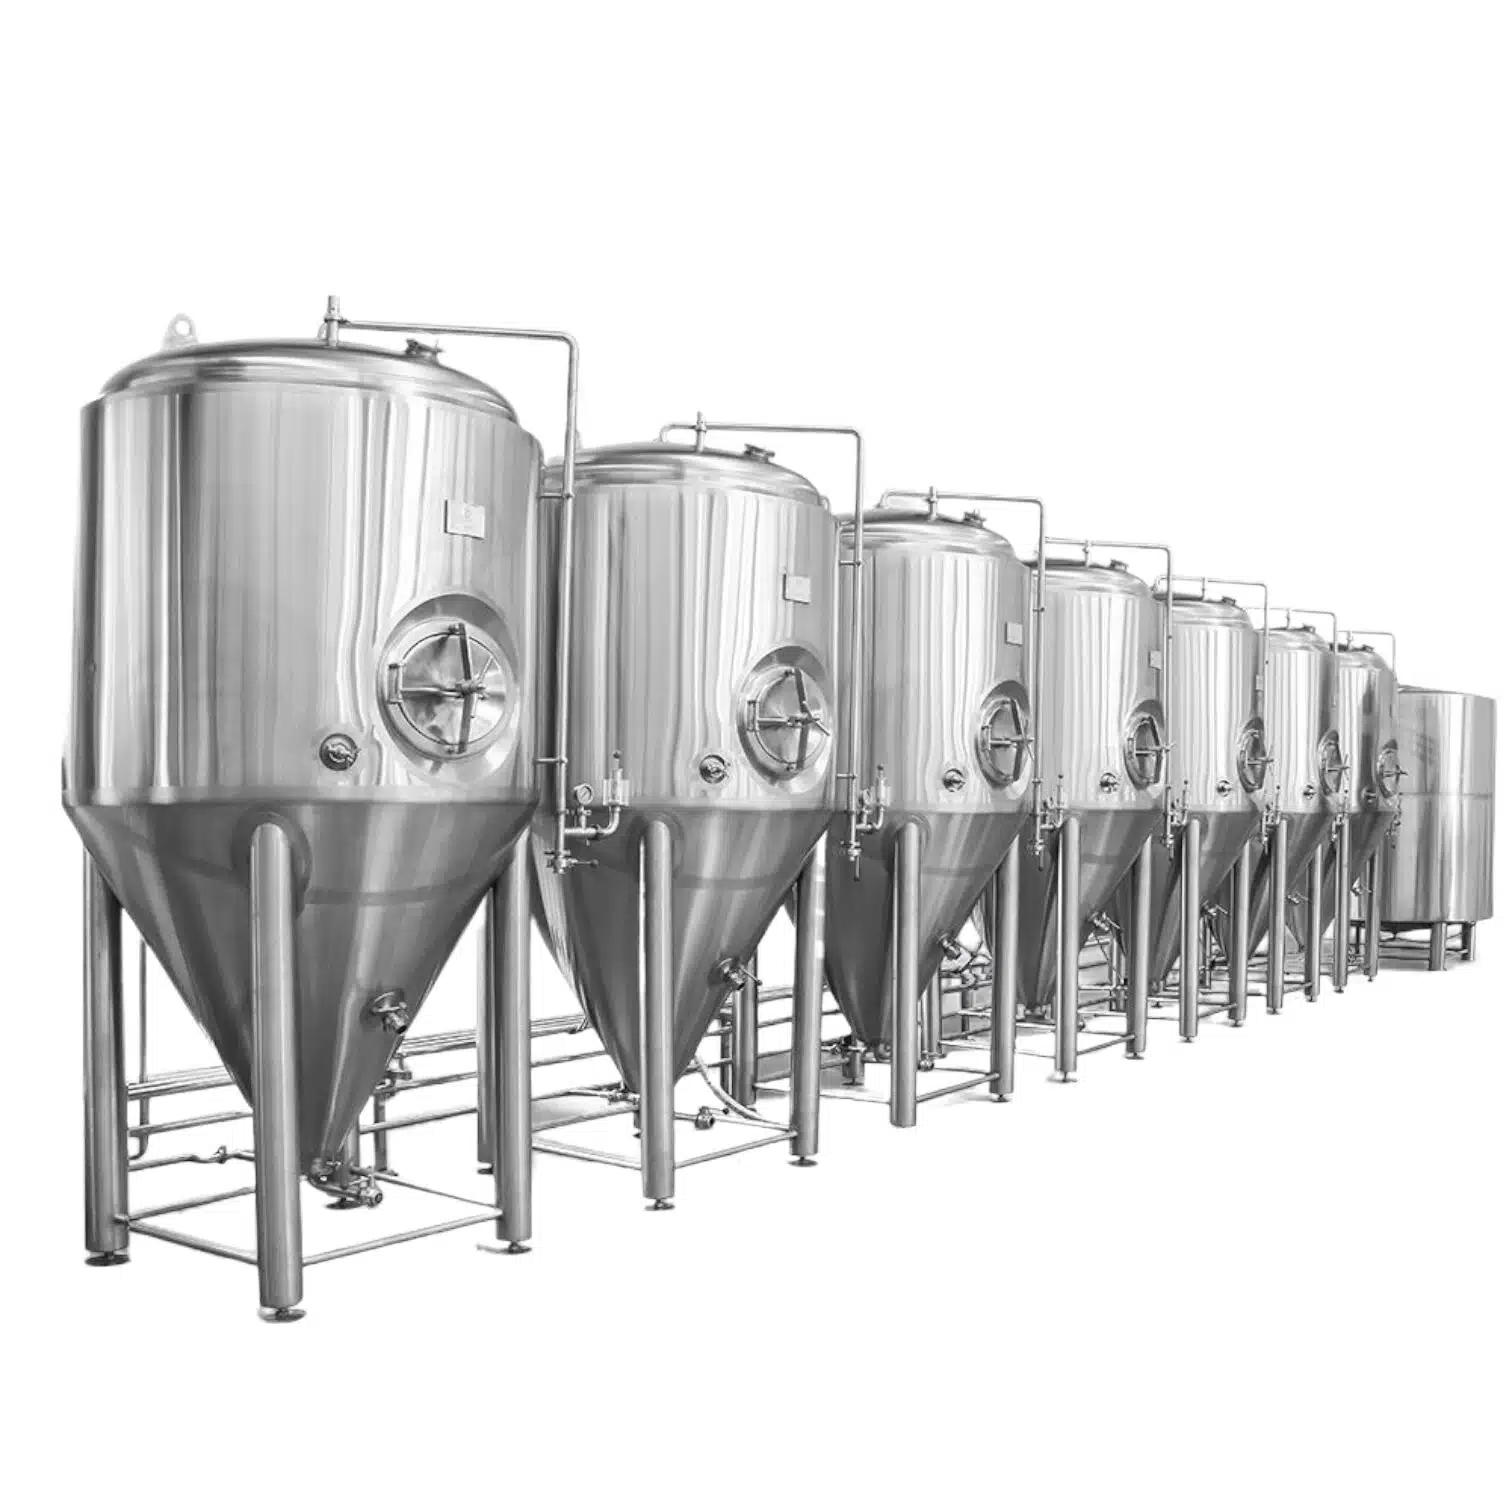
Start off by purchasing a fermenter; this is where all of the magic takes place; where juice becomes wine!
Food-grade plastic buckets or glass carboys make effective fermentation vessels; both options have their own set of benefits and drawbacks, though both work efficiently.
When working with fresh grapes, two essential tools will be necessary: a crusher and press. The former breaks apart grapes while the latter extracts their juice for further use in processing.
If your recipe includes other fruits or grape juice, these items may not be necessary. Your hydrometer will be really useful too, which measures the sugar content in your juice, helping you keep track of the fermentation process and figure out how much alcohol is in your wine.
Finally, for bottling wine you will require bottles, corks and a corker.You can reuse old wine bottles, just make sure they’re thoroughly cleaned and sanitized.
Quick list of the essential equipment:
- Fermenter (plastic bucket or glass carboy)
- Crusher and press (if using fresh grapes)
- Hydrometer
- Bottles
- Corker
Choosing the Right Ingredients
The quality of your ingredients directly affects the quality of your wine. As it’s essential that we choose appropriate ones, it is of upmost importance that we pick those appropriate.
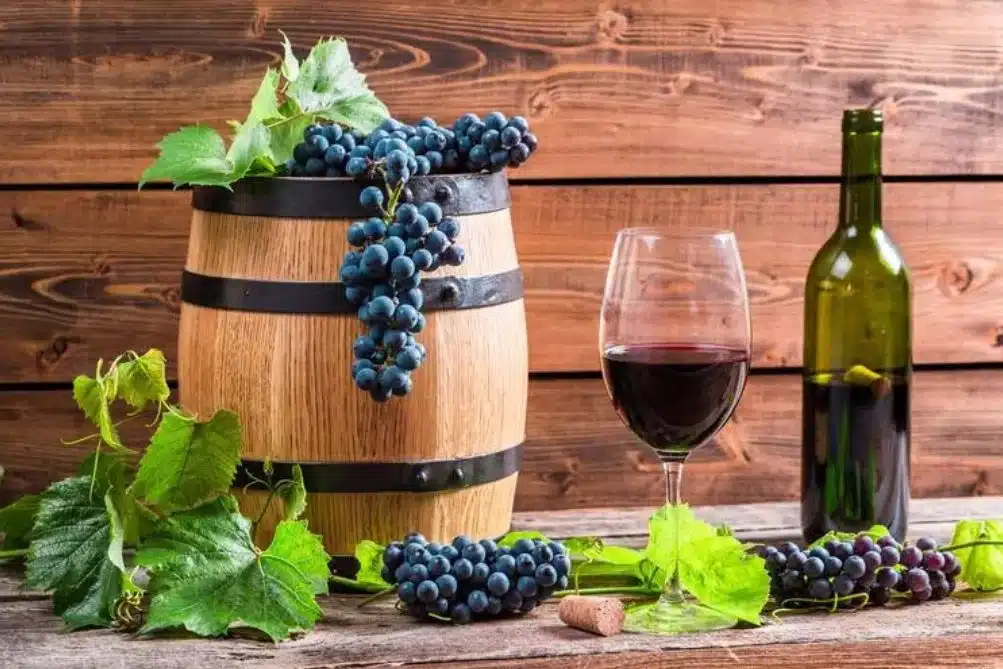
When crafting homemade grape wine, choosing from among several grape varieties will have an enormous effect on its final product’s taste and aroma. Popular choices for homemade winemaking are Cabernet Sauvignon, Merlot and Chardonnay.
For non-grape wines, select only ripe, high-quality fruits – those which have reached full maturity but which do not appear overripe or underripe should be preferred.
Next you’ll require yeast. Yeast converts sugar in juice into alcohol. There are numerous varieties of wine yeast available which impart unique characteristics to wine, creating different tastes and characteristics in their finished products.
Use clean, filtered water to avoid any off-flavors that might arise.
After fermenting has taken place, additional additives like sugar, acid blend or yeast nutrient may be required in order to balance flavors and ensure successful fermentation.
Sanitation: The Key to Successful Winemaking
Sanitation is of utmost importance in winemaking; any bacteria or wild yeast present can taint your product and alter the outcome.
Start by cleaning your equipment using warm, soapy water – be sure to thoroughly rinse this off to rid of any soap residue!
Now it is time to sanitize your equipment using no-rinse sanitizer such as Star San and follow its label instructions for use.
Always ensure everything that touches the wine has been properly disinfected – this includes your hands.
Maintain a tidy workspace to avoid contamination and enhance the winemaking experience. A tidy workspace also increases enjoyment during winemaking!
Preparing Your Fruit for Wine
The first step in making wine is preparing your fruit. This process depends on what fruit you’re working with.
When working with grapes, destemming them first will be essential. Stems can add unwanted flavors that compromise your final wine product – some winemakers choose to leave some stems as part of their wine’s complexity.
Step two is crushing your grapes; this breaks open their skins to allow their juices to come through. Crush by hand if possible, or use an electric crusher if available.
If using other fruits, first slice them into bite-size pieces before taking care to remove all pits, seeds and cores before crushing to release their juice
Keep this in mind – the quality of the fruit will have a direct impact on the wine you produce. So, choose ripe, high-quality fruit for the best results.
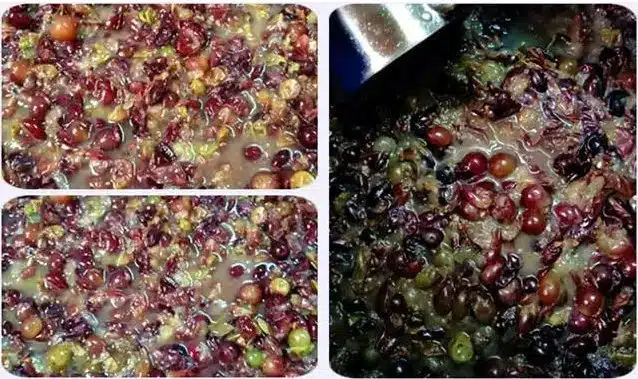
Crushing and Pressing: Extracting the Juice
After crushing your fruit, the next step is pressing. This is where you extract the juice from the fruit.
If using grapes, use a wine press as part of this step. A wine press applies pressure against crushed grapes in order to squeeze out juice from them and extract juice for extraction.
For other fruits, a cheesecloth or fine mesh bag are great tools. Simply place crushed fruit inside these items, squeeze out its juice, and dispose of any waste material that remains.
Be sure to collect the juice in a clean fermenter; this is where fermentation will take place.
You should discard any fruit pulp leftover after cleaning out your blender or food processor. Compost it or use it in cooking; both options offer plenty of flavor and nutrients!
The Fermentation Process Explained
Fermentation is the heart of winemaking.
Starting the fermentation process requires adding yeast to your juice. As yeast consumes sugar in your beverage and produces alcohol, carbon dioxide and heat as byproducts.This process may take anywhere from several days to several weeks depending on temperature, amount of sugar used and type of yeast being utilized.
At every step in fermentation, temperature stability is key: too hot will kill off yeast; too low will send it dormant and create issues later.
Some general temperature guidelines for fermentation:
- Red wines: 68-86°F (20-30°C)
- White wines: 59-68°F (15-20°C)
- Fruit wines: 59-68°F (15-20°C)
How Long Does Wine Take to Ferment?
Fermentation times vary significantly based on several factors such as yeast strain type, temperature setting and sugar content of your juice.
Primary fermentation usually lasts one or two weeks. At this stage, yeast activity increases significantly and an abundance of carbon dioxide gas production occurs.
After primary fermentation, the wine is transferred to a new container for secondary fermentation. This process is slower and can take several weeks to months.
During secondary fermentation, the flavors of the wine develop, and the wine becomes clearer.
Monitoring and Controlling Fermentation
Monitoring fermentation is of crucial importance, to make sure everything goes according to plan.
Hydrometers provide one way of tracking fermentation: this tool measures the specific gravity of wine to tell you how much sugar remains.
An effective way of monitoring fermentation is tasting your wine frequently and giving an idea of the way in which flavors are evolving. Keep a close eye on the temp of your wine and remember a consistent temp is crucial for fermentation to go smoothly.
Racking and Clarifying Your Wine
After fermentation, the next step is racking. This is the process of transferring the wine from one container to another.
Racking helps to clarify the wine and removes the sediment that has settled at the bottom of the container.
The first racking usually occurs after primary fermentation. Subsequent rankings may be done every few months until the wine is clear.
Racking should be done carefully to avoid disturbing the sediment. A siphon is often used to transfer the wine.
The Role of Sulfites in Winemaking
Sulfites are widely utilized as preservatives and antioxidants during winemaking.
By stopping bacteria and yeast from growing,adding sulfites that help keep your wine from going bad ,which helps preserve its fresh taste. However, some people are sensitive to sulfites. If you’re one of them, you may want to consider making wine without sulfites.
Bottling Your Homemade Wine
Once your wine is clear and stable, it’s time to bottle it. Bottling preserves your wine for future enjoyment. You’ll need clean, sterilized wine bottles for this step. You can use
either cork or screw caps to seal the bottles.
Remember to store your bottled wine properly. A cool, dark place is ideal.
The Aging Process: Enhancing Your Wine’s Flavor
Aging wine is an integral component of winemaking. Aging allows its flavors to develop more fully and become complex over time.
Aging wine may require from several months to multiple years depending on its type and your personal tastes.
Ageing wine involves chemical reactions which may improve its flavor, aroma and texture.
Tasting and Evaluating Your Wine
After your hard work is completed, now comes the exciting and educational part: sampling your homemade wine. Tasting is both enjoyable and instructive in winemaking!
As part of your tasting experience, pay special attention to a wine’s aroma, flavor and texture; they serve as indicators of its quality and character.
Remember, wine tasting is subjective – what matters is whether the wine brings pleasure.
Common Mistakes and How to Avoid Them
Even experienced winemakers can make mistakes.
One common misstep involves improper sanitation of equipment. If left uncovered for too long, bacteria contamination may arise and ruin your wine production process.
Underestimating fermentation and aging processes is another mistake winemakers often make, leading to wines with harsh or unbalanced flavor profiles that result from hastening these processes. Patients should always be exercised when producing wine!
A lot of beginners start out using not-so-great ingredients. But the quality of your wine really depends on the things you put in it.
Additional Tips and Tricks for the Home Winemaker
As you keep making wine, you’ll learn more and more with each batch. Here are a few extra tips to help you on your winemaking journey. Before beginning winemaking, keep a winemaking journal. Note everything from ingredients used and fermentation times to any adjustments or tweaks made – this will allow you to both replicate successful batches and learn from less successful ones.
Try different fruit varieties, yeast strains and aging times until you discover something you like – you might discover your new go-to wine!
Join a home winemaking community online or offline – these networks offer invaluable advice, support and inspiration!
Legal Considerations and Homemade Wine Production
Before you start making wine at home, it’s important to understand the legal
considerations.
In many countries, home winemaking for personal use is legal. However, the amount you can produce may be limited.
If you plan to sell homemade wine, obtaining a license may be required. Specific regulations vary by country and region – do your homework!It is your duty to understand and abide by all applicable laws and regulations.
Conclusion: The Rewards of Making Wine at Home
Making wine yourself requires both hard work and dedication from every participant involved – not forgetting those important relationships along the way!
Tasting wine will help experienced wine lovers appreciate its complexity and beauty even more,giving you a better understanding of what affects its taste and quality.
Of all of its rewards, winemaking may hold one of its greatest joys in sharing what you have created with others. There’s an unparalleled satisfaction in pouring a glass of your creation, enjoying its flavor profile while knowing you made it yourself – so why wait another second to start winemaking today?