Before we delve into the process of creating whiskey, let’s first define it. Whiskey is a distilled spirit typically created from fermented grains such as barley, corn, rye, or wheat which have been fermented and then aged in barrels, giving its signature taste and color.
Origins and History
It’s believed to have originated in Scotland and Ireland where monks initially produced whiskey before commercial distilling was adopted and whiskey became available commercially.
Types of Whiskey
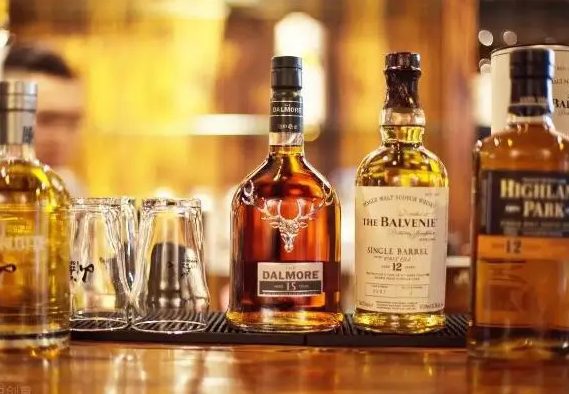
There are various types of whiskey, including bourbon, scotch, and Irish whiskey.
Each has their own set of regulations and requirements: for instance scotch must be produced in Scotland and aged for at least three years while bourbon must contain at least 51% corn as its primary component and be aged in new charred oak barrels for three or more years before entering production.
Whiskey vs. Whisky
You may have noticed that whiskey can sometimes be written with or without an “e.” This spelling varies by region – “whiskey” is generally preferred in the US and Ireland, while “whisky” is more frequently seen in Scotland, Canada, and other whiskey-producing nations. Though they differ in spelling, their production processes remain fairly similar.
Before Beginning Whiskey Production
In order to successfully produce whiskey, it’s necessary to acquire some essential equipment. Here is a list of what will be needed:
Key Ingredients
- Grains: Whiskey is typically produced using fermented grains. The type of grain chosen will depend on what kind of whiskey you want to create; for instance, bourbon must include at least 51% corn.
- Yeast: Yeast is used to ferment grains, creating various flavors and aromas. There are various varieties of yeast available with their own distinct characteristics and profile.
- Water: High quality water is essential in making whiskey, as it’s used to mash grains together and dilute the final product.
Equipment Needed
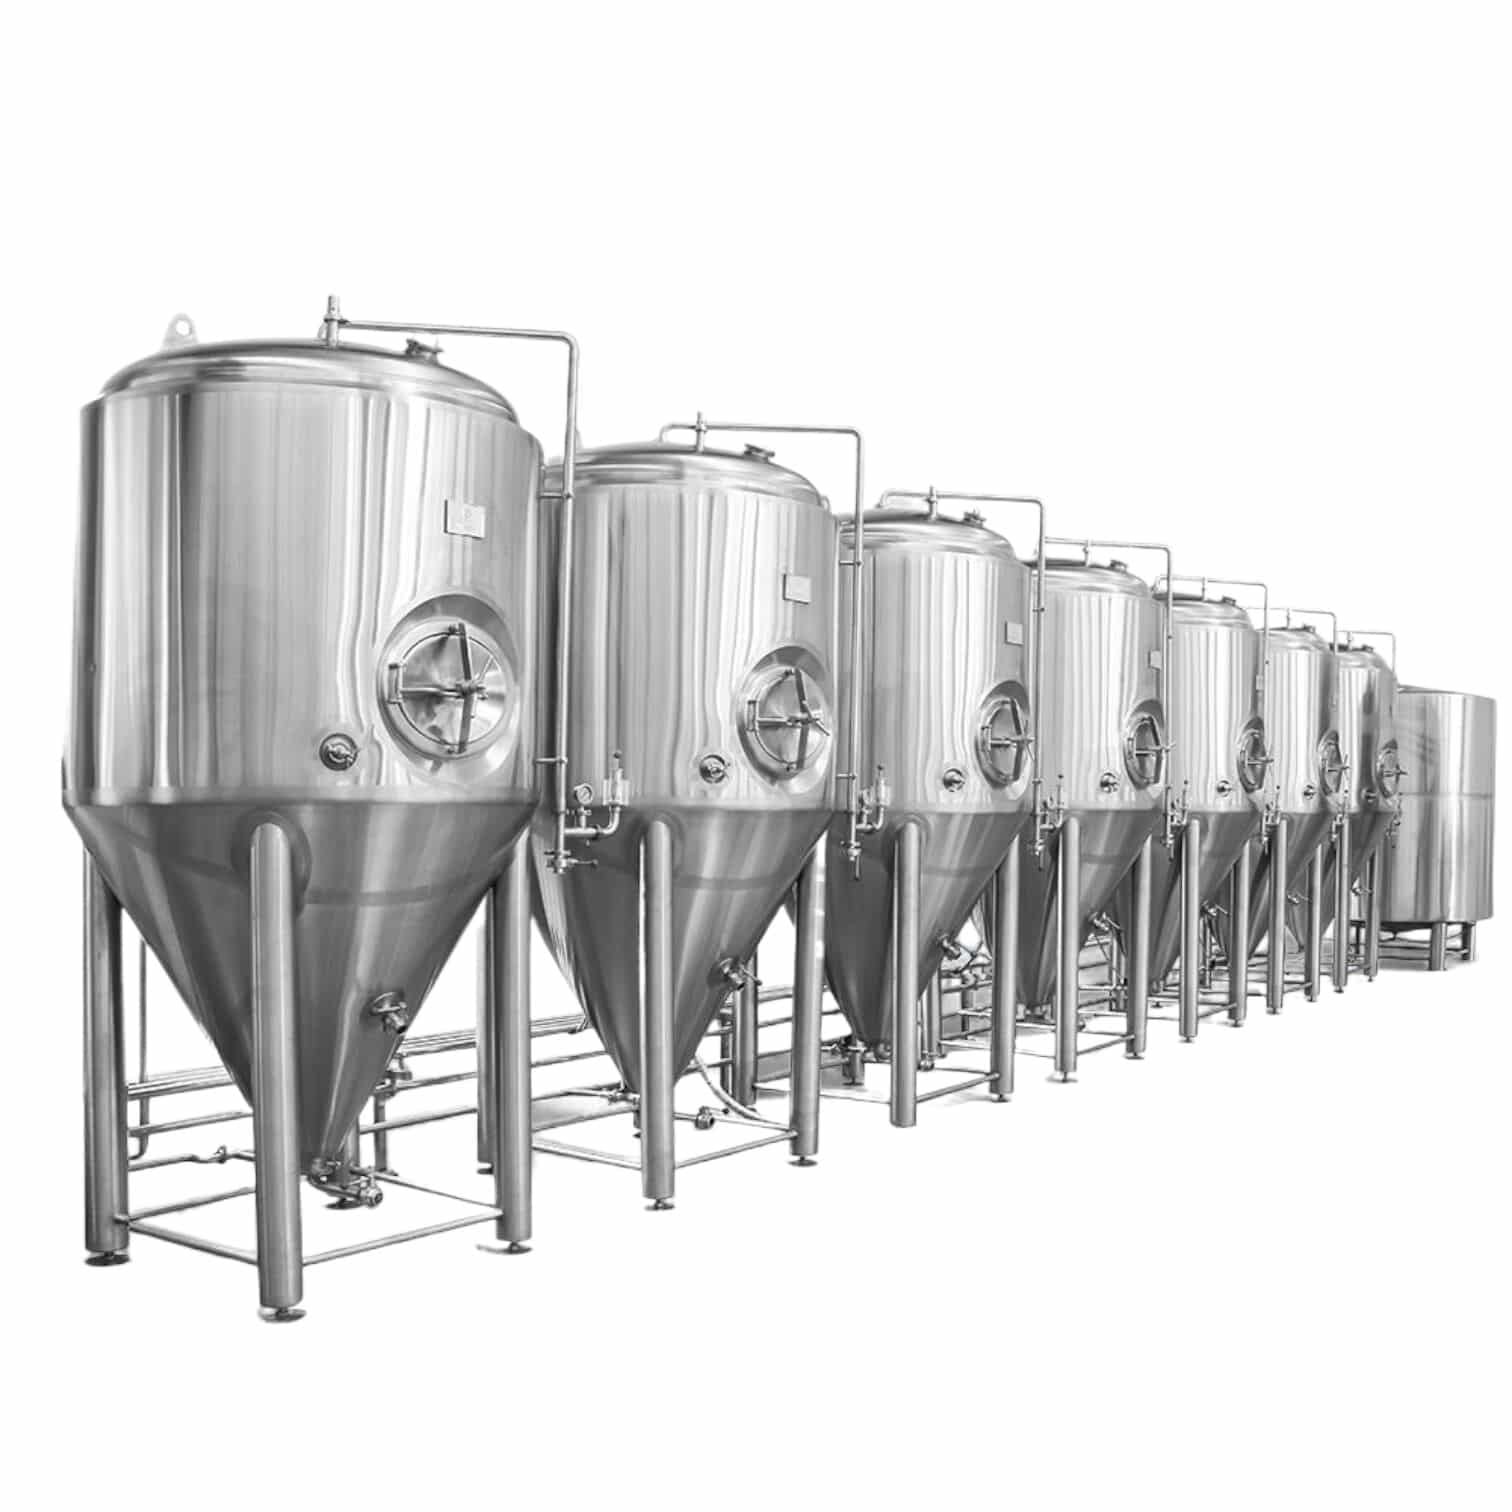
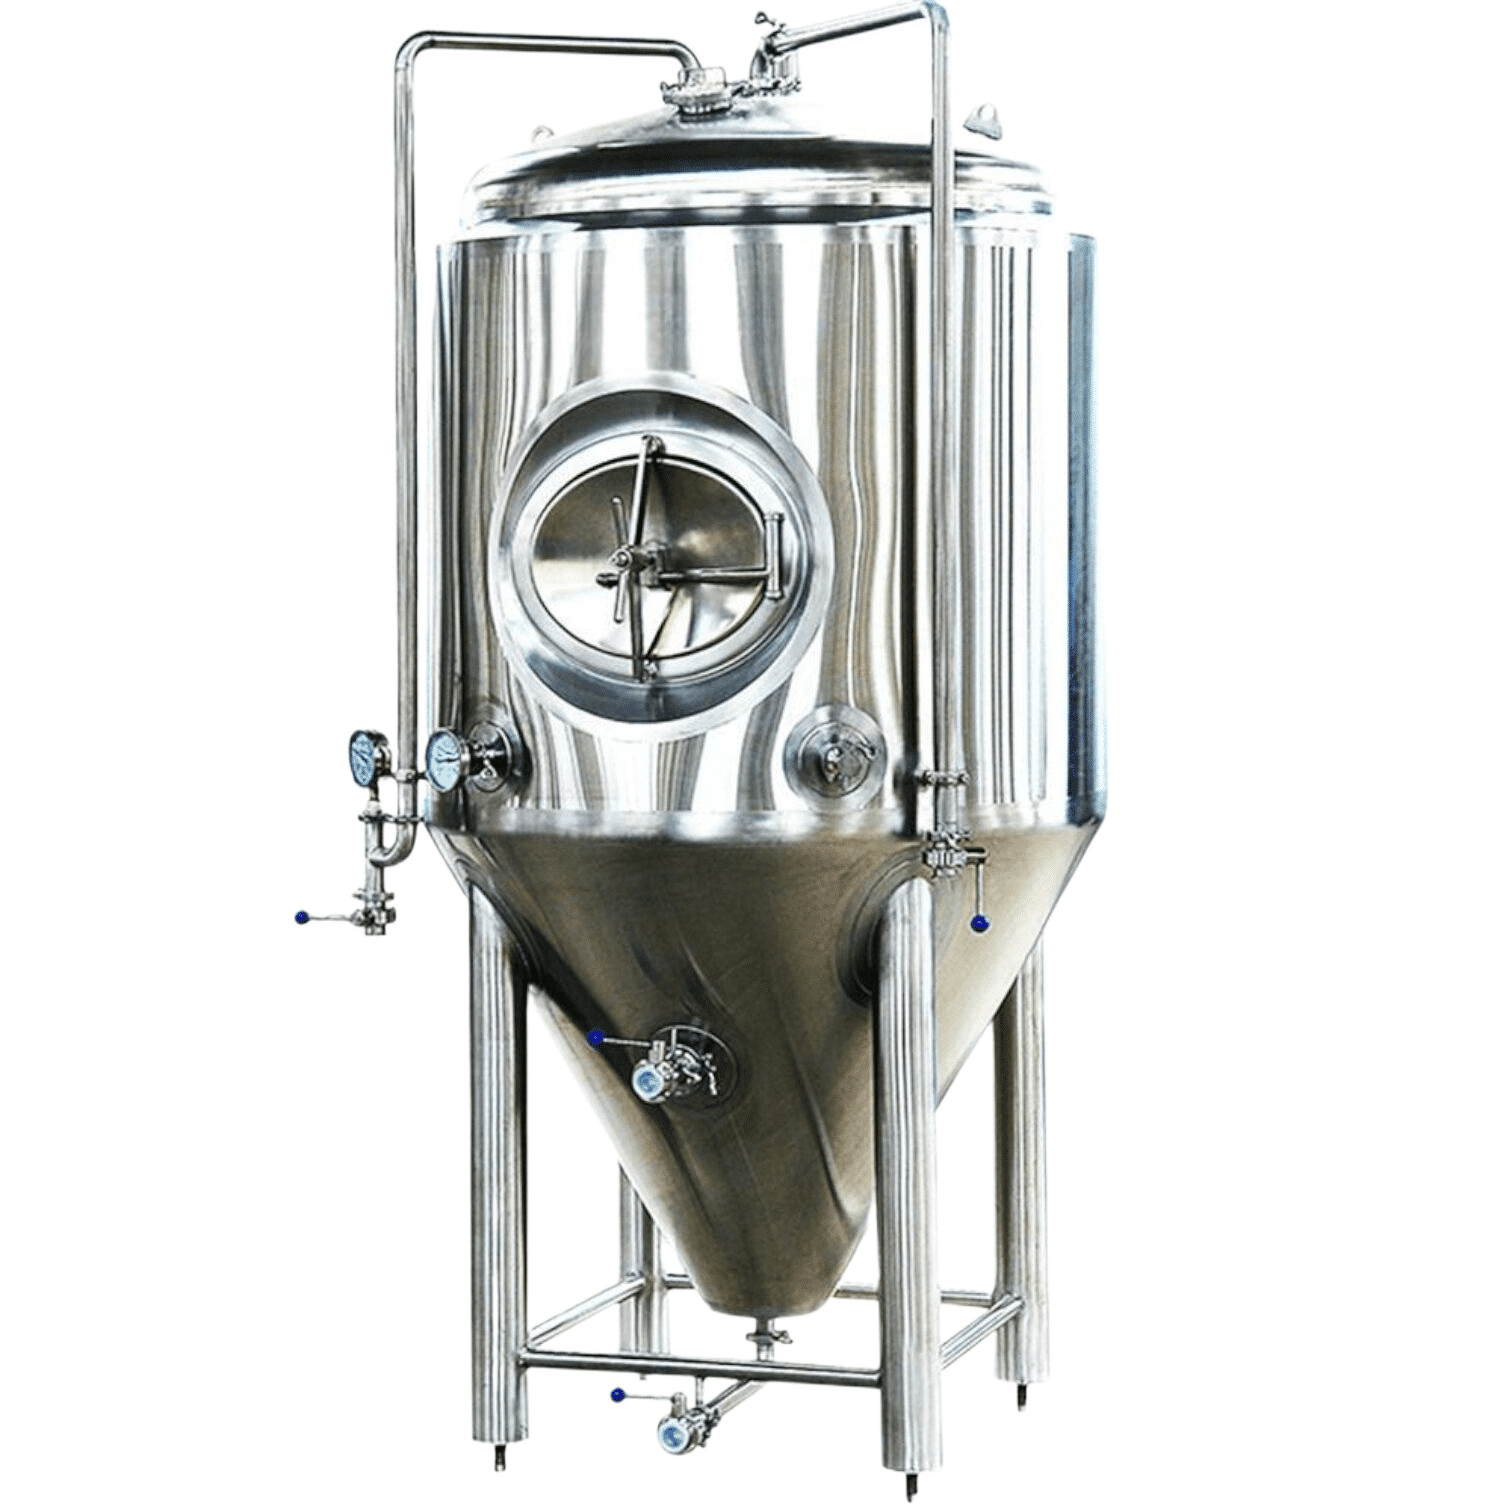
- Fermentation tank: Here, grains, yeast and water will be combined to form the mash.
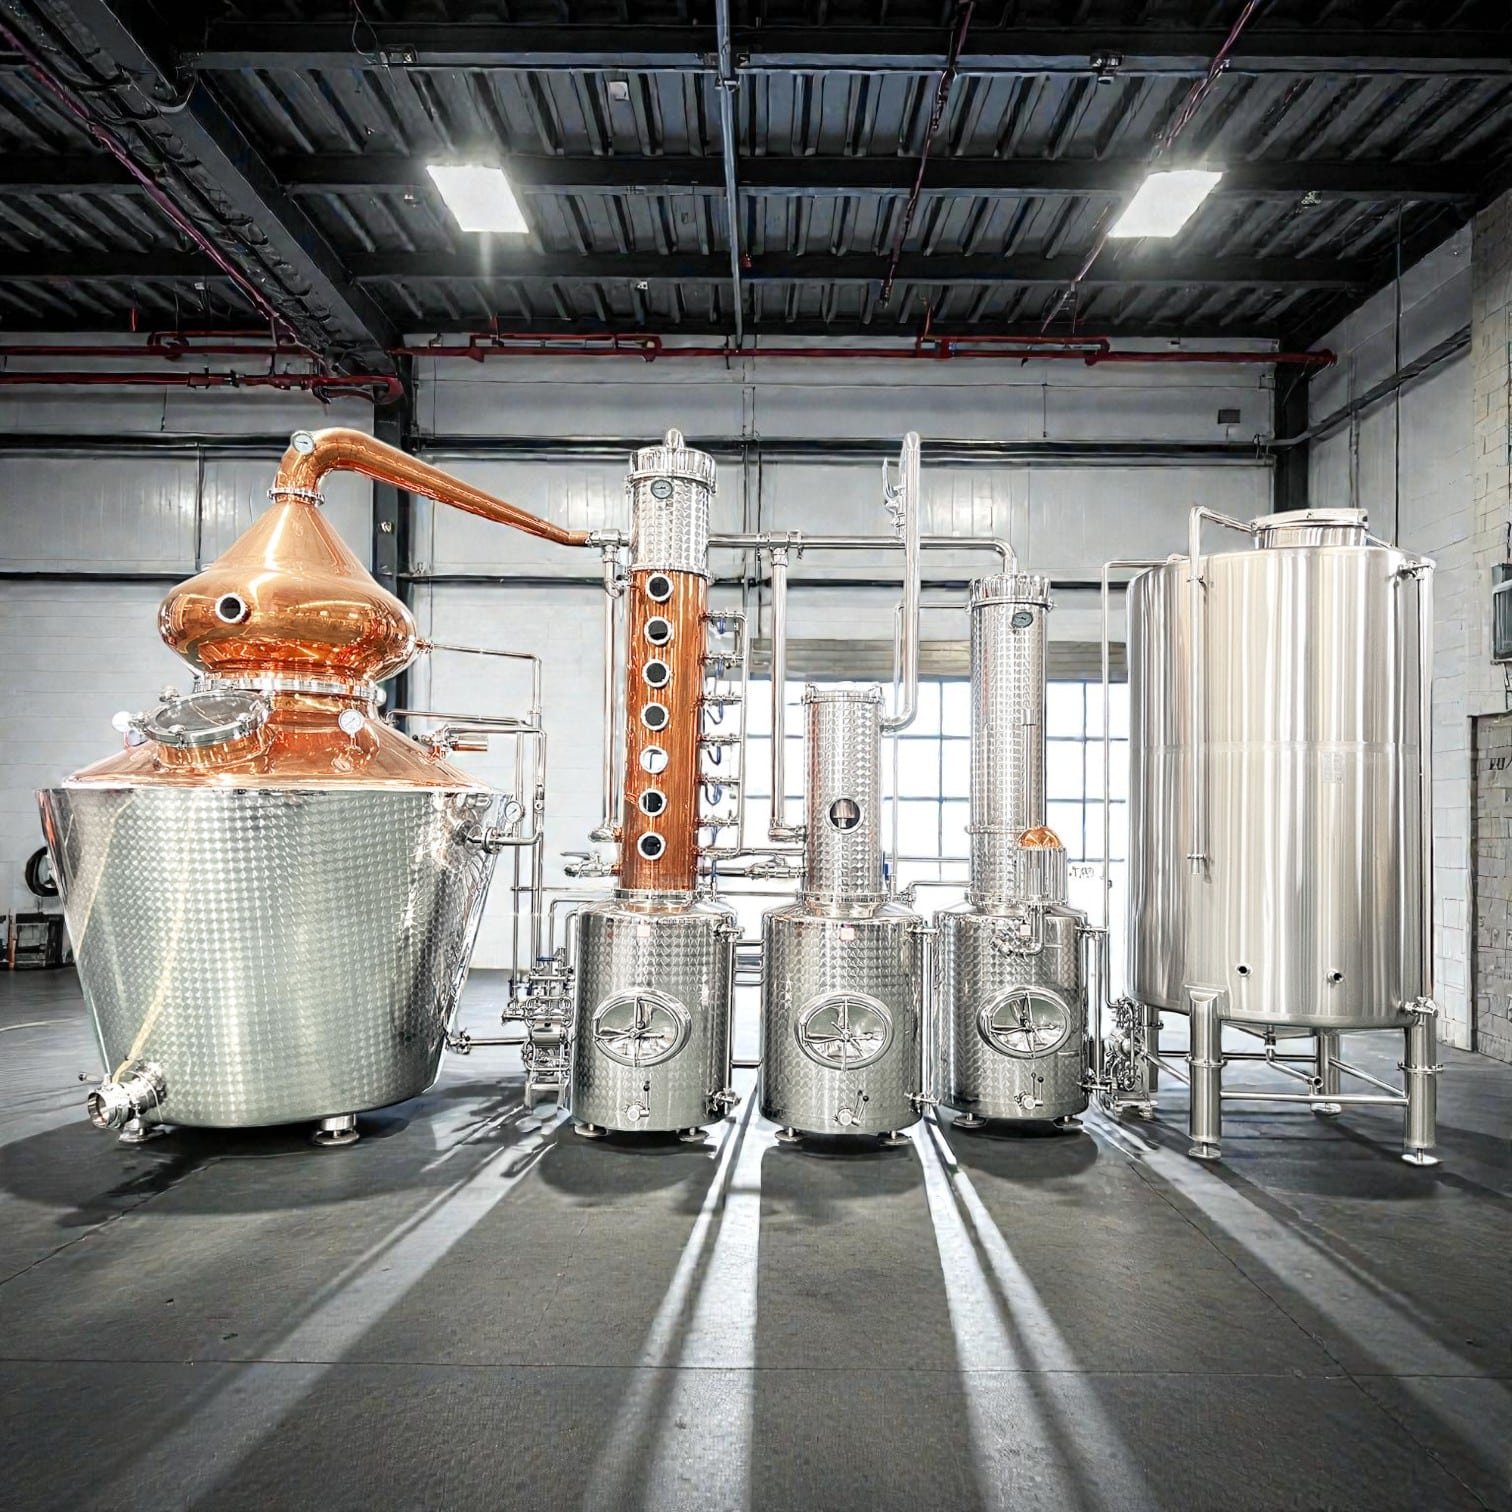
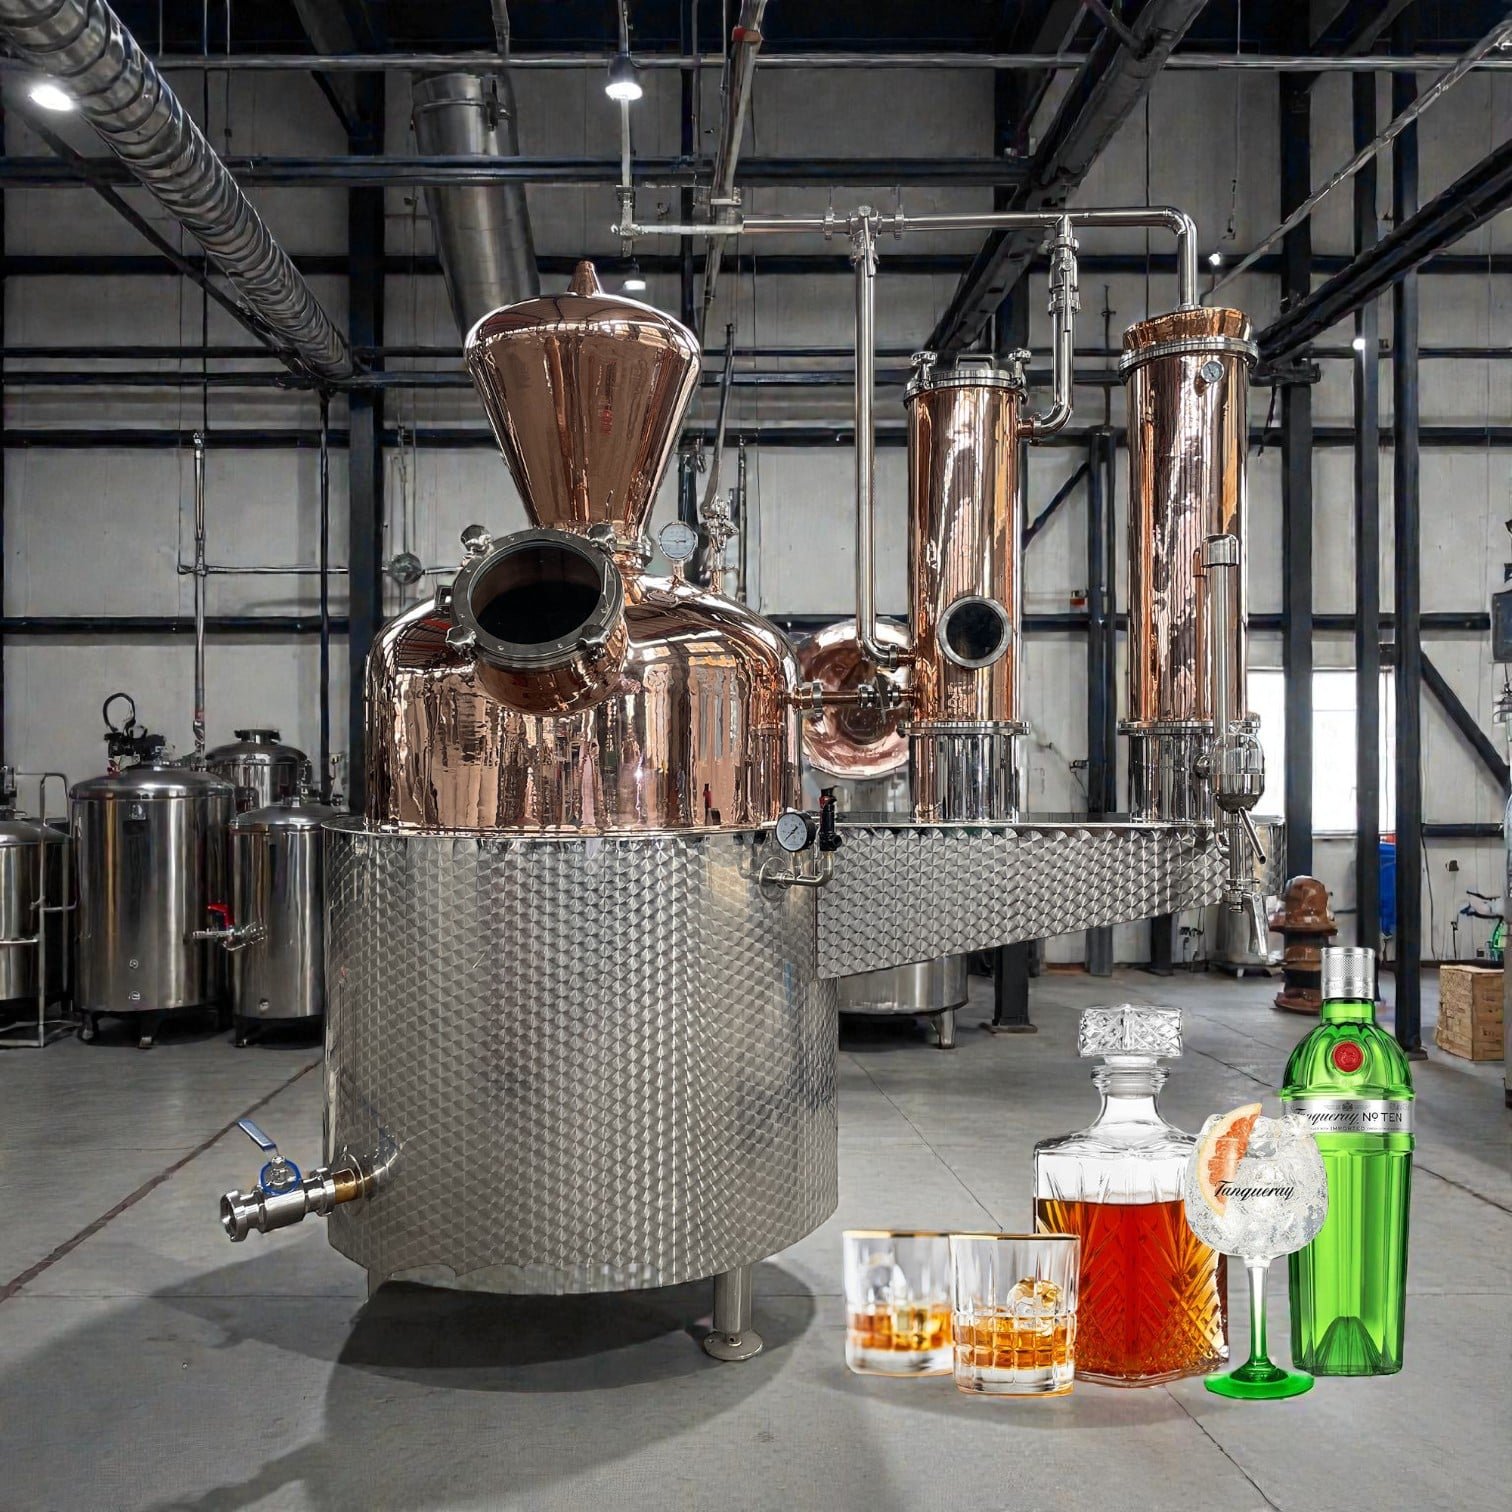
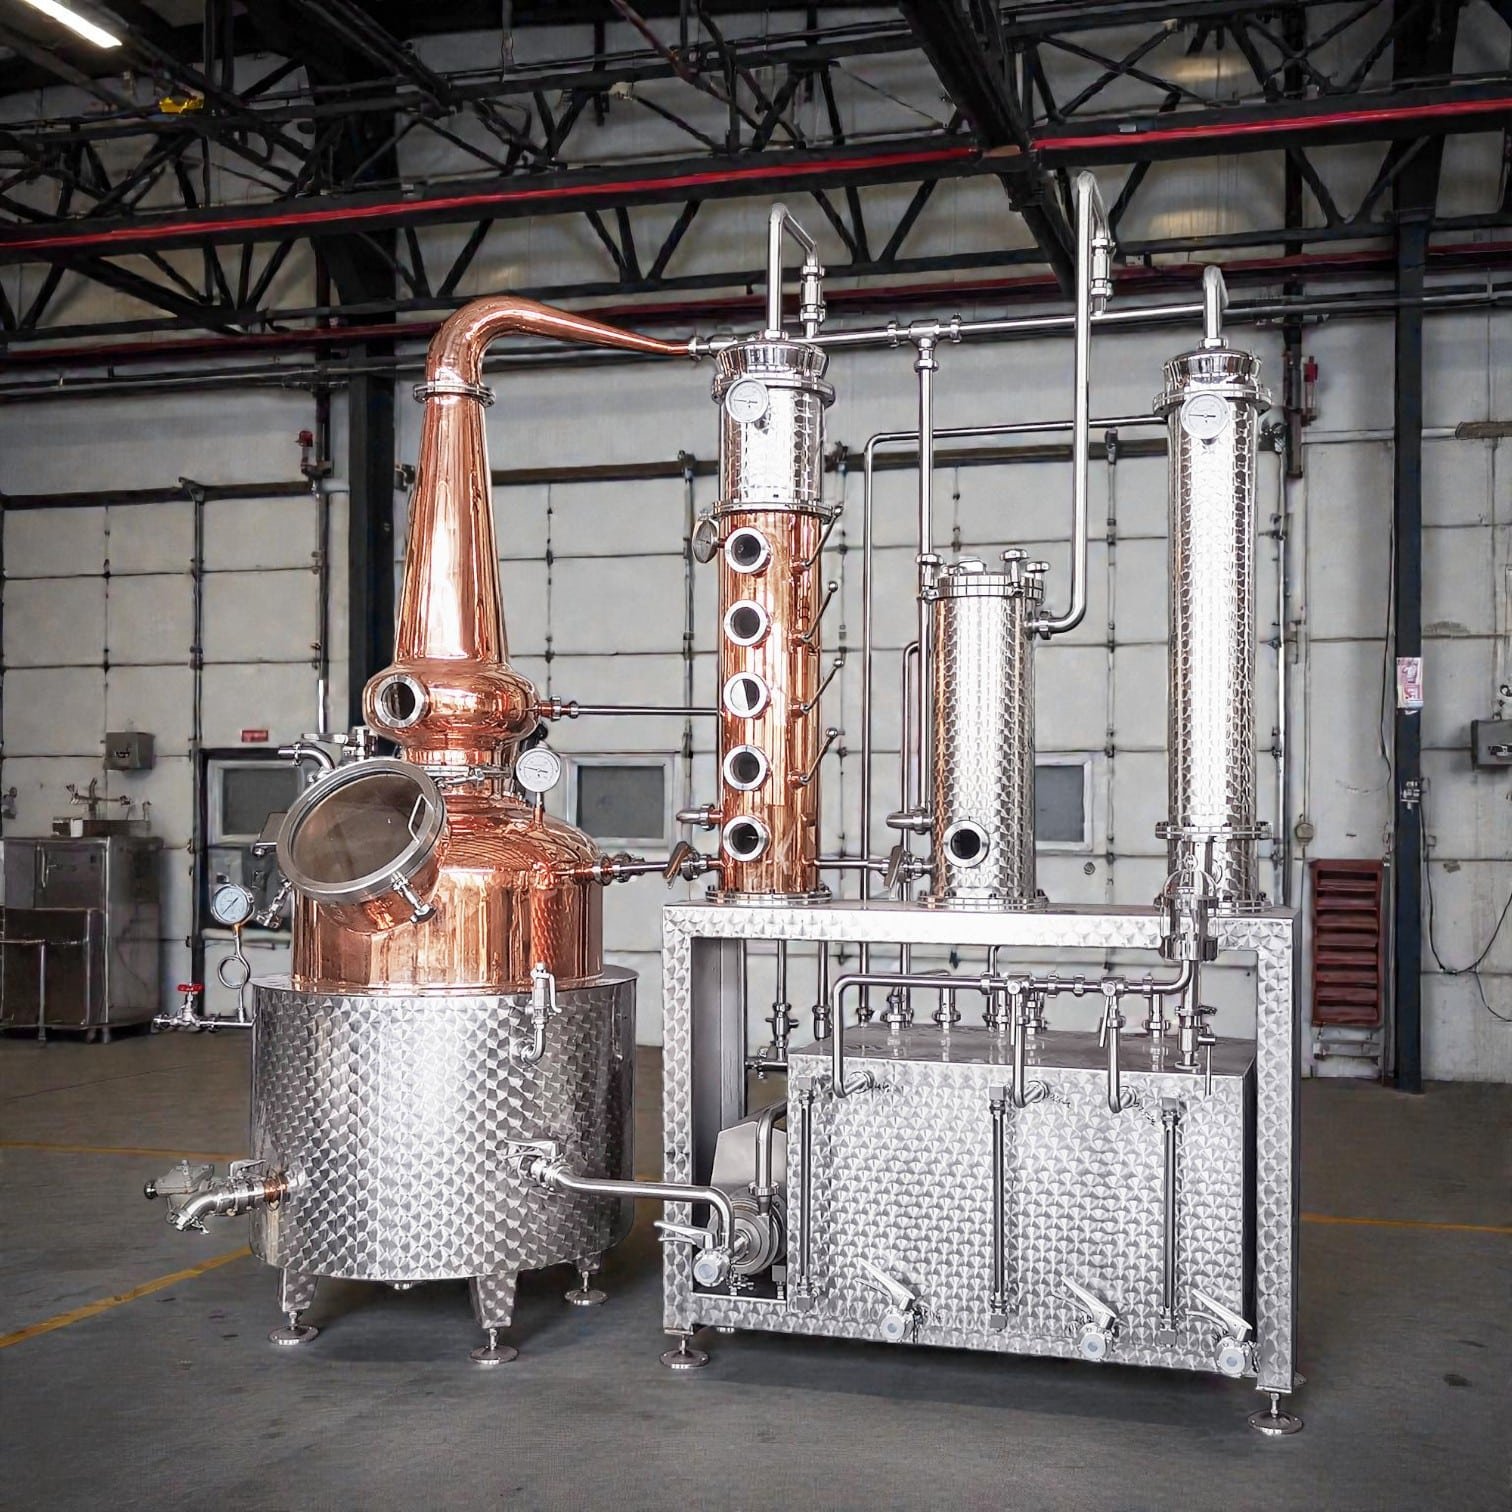
- copper Still: Used to distill fermented mash to isolate its alcohol from any water and solids left over from fermentation, distillation allows you to separate alcohol from its remaining components and achieve higher alcohol yields overall.
- Barrels: Whiskey must be aged in barrels in order to develop its signature taste and
color. Oak barrels often provide the best flavor profile.
Quality Control
Prior to beginning the whiskey-making process, it is critical that all equipment be clean and sterile in order to avoid contamination and ensure an exceptional final product. Furthermore, using top-grade grains and yeast can have an enormous effect on its flavor profile.
Now That You Have All the Necessary Equipment Now that you have all the required equipment for making whiskey, it is time to begin the whiskey-making process.
Here’s a step-by-step guide to whiskey-making:
Step 1: Milling
To make whiskey, the first step involves milling grains. These will then be crushed to create a coarse powder for easier sugar extraction during mashing.
Milling Techniques
Distilleries often employ various milling techniques when milling sugar. Some distilleries may opt for fine grinding while others prefer coarser milling methods; the final product’s taste depends on this choice as well as how effective sugar extraction was performed.
Importance of Consistency
Maintaining consistency during the milling process is of utmost importance, as a uniform grind ensures all starches can be exposed for conversion into sugars during mashing and therefore produce whiskey with more predictable flavor profiles.
Preparing Grains
Prior to milling, grains are cleaned of any debris. Some distilleries also choose to malt certain grains such as barley before drying it – this involves submersion in water for at least 12 hours prior to drying so as to start germinating the seeds before drying them again for drying purposes. Malting also breaks down enzymes within the grains and facilitates sugar extraction.
Step 2: Mashing
Mashing involves mixing milled grains with hot water in a large vessel, creating a mixture known as “mash”, consisting of both grain and water. Once created, this mash must then be heated up to convert starches in its grains into fermentable sugars that can then be turned into fermentable carbohydrates for fermentation.
Temperature Control It is vital that we maintain an ideal temperature during mashing to activate enzymes that break down starches into sugars, and ensure that we produce only those sugars needed for fermentation. Precise temperature management guarantees this goal.
The Role of Enzymes
Enzymes play an essential part in breaking down starches into sugars. The mashing process is designed to maximize their activity; each type of grain has unique enzymes which work best under various temperatures ranges.
Rest Periods
While mashing, there are critical periods known as “rests”, in which temperatures are maintained to allow enzymes to work efficiently and achieve full conversion of starches into sugars. These rest periods must not be missed!
Step 3: Fermentation
Once the mash has cooled, yeast is added to kick-start the fermentation process. The yeast converts the sugars in the mash into alcohol, creating a low-strength beer-like liquid called wash. This process can take anywhere from a few days to a few weeks, depending on the type of yeast used and the desired flavor profile.
Yeast Strains
The choice of yeast strain is important as it affects the final flavor of the whiskey. Each strain produces different esters and alcohols during fermentation, contributing to the spirit’s unique characteristics.
Fermentation Environment
The environment in which fermentation takes place can also impact the flavor. Factors such as temperature, oxygen levels, and vessel material can all play a part in the development of the whiskey’s taste profile.
Monitoring Fermentation
Fermentation must be carefully monitored to ensure that it is progressing correctly. The specific gravity of the wash is measured regularly to track the conversion of sugars into alcohol. Once the desired level of alcohol is reached, the wash is ready for distillation.
Step 4: Distillation
After fermentation, the wash is ready to be distilled. The wash is heated in a still, separating the alcohol from the water and solids. The alcohol vapor rises to the top of the still and is then condensed back into a liquid. This process is repeated multiple times to achieve the desired alcohol percentage and flavor profile.
The Role of the Still
The design of the still can significantly affect the taste of the whiskey. Pot stills and column stills are the two main types used in distillation, each producing a different style of spirit.
The Art of the Cut
During distillation, the distiller makes ‘cuts’ to separate the ‘heads,’ ‘hearts,’ and ‘tails’ of the distillate. The ‘hearts’ are the portion of the distillate with the desired alcohol content and flavor profile and are kept for aging, while the ‘heads’ and ‘tails’ are often redistilled or discarded.
Refining the Spirit
Multiple distillations can refine the spirit, increasing its purity and altering its flavor. Some whiskeys are distilled twice, while others may go through a third distillation for a smoother profile.
Step 5: Aging
Once the whiskey has been distilled, it’s time to age it in barrels. The type of barrel used will impact the flavor of the whiskey. For example, bourbon must be aged in new, charred oak barrels, while scotch is typically aged in used barrels. The whiskey is left to age for a minimum of two years, but many whiskeys are aged for much longer, with some reaching up to 25 years.
Interaction with Wood
The interaction between the whiskey and the wood of the barrel is critical to the aging process. The wood imparts flavors such as vanilla, caramel, and spice, and helps to smooth out the alcohol’s harshness.
Environmental Factors
The aging environment, including temperature fluctuations and humidity, influences the whiskey’s maturation. Distilleries often have specific aging warehouses designed to create the optimal conditions for their whiskey.
Time and Patience
Aging is a slow process that cannot be rushed. Over time, the whiskey develops complexity and depth. The length of aging varies, with some premium whiskeys spending decades in barrels before they are deemed ready for consumption.
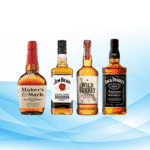
Step 6: Bottling
After the aging process is complete, the whiskey is ready to be bottled. The whiskey is usually diluted with water to achieve the desired alcohol percentage and then bottled. Some distilleries may also add caramel coloring to achieve a consistent color across batches.
Before bottling, whiskey may be diluted to achieve a specific proof, which measures its alcohol content and helps ensure consistency as well as meet market preferences.
Filtration
Some whiskeys go through filtration to remove impurities or any unwanted flavors, which could include charcoal filtering to more complex methods such as chill filtration.
Packaging and Branding
Packaging is the final step of the bottling process. Branding plays an integral part in consumer perception of whiskey products. Bottle and label design play an essential part in brand efforts, as it influences how customers view them. In many instances, packaging contains information regarding type, age, origin etc. of whiskey product.
If you want to start a whiskey distillery, you can buy our distillery equipment.